WeCom Solution
This chapter is based on the WeCom module
17.0.2.1. Compatible versions include Odoo 13.0, 15.0, and 16.0. Some behavior differs by version; contact support for details.
WeCom, also known as Enterprise WeChat, is one of the major internal communication tools used by Chinese companies. Its advantage is that it connects naturally with WeChat, making it convenient for both internal collaboration and customer communication.
This chapter explains how the WeCom solution connects Odoo with WeCom for data synchronization, QR login, menus, workbench display, robot messages, and document chatter notifications.
Business Background
Many companies want work notifications, approvals, attendance, expenses, and internal collaboration to happen inside WeCom. By connecting WeCom with Odoo, business records in Odoo can trigger timely notifications and employees can interact with work items from the tool they already use every day.
WeCom Admin Backend Configuration
To use WeCom, first register a WeCom account. After registration, log in to the admin backend with an administrator account.
Create An Application
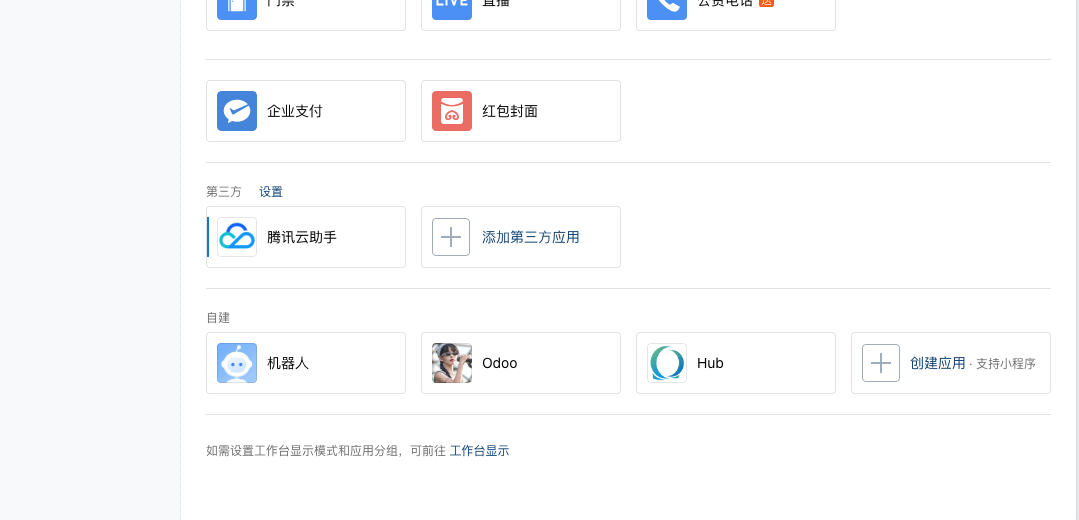
Create an application under Application Management > Create Application. In this example, the application is named Odoo.
Get Basic Parameters
Obtain the following parameters:
| Parameter | Location / Example |
|---|---|
| Corp ID | Found under My Company, for example ww123456. |
| AgentID | Application ID, for example 1000001. |
| Secret | Application secret, for example abcdefghijklmn. |
Then configure the web authorization and JS-SDK domain for OAuth authorization.
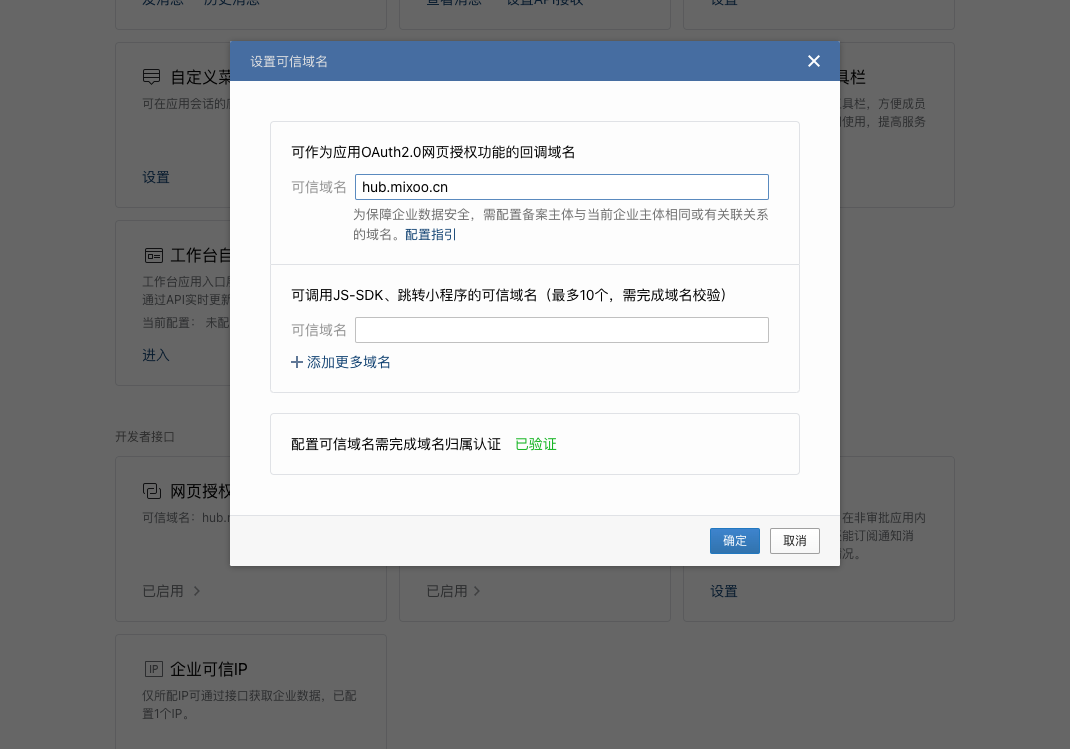
Finally, add the server IP address to the trusted IP whitelist of the WeCom enterprise.
Odoo Configuration
After the WeCom backend is configured, connect it from Odoo. First, add the relevant user to the WeCom Manager user group.
Then open the WeCom app from the main menu. Under WeCom > Settings > WeCom, enter the parameters obtained earlier.
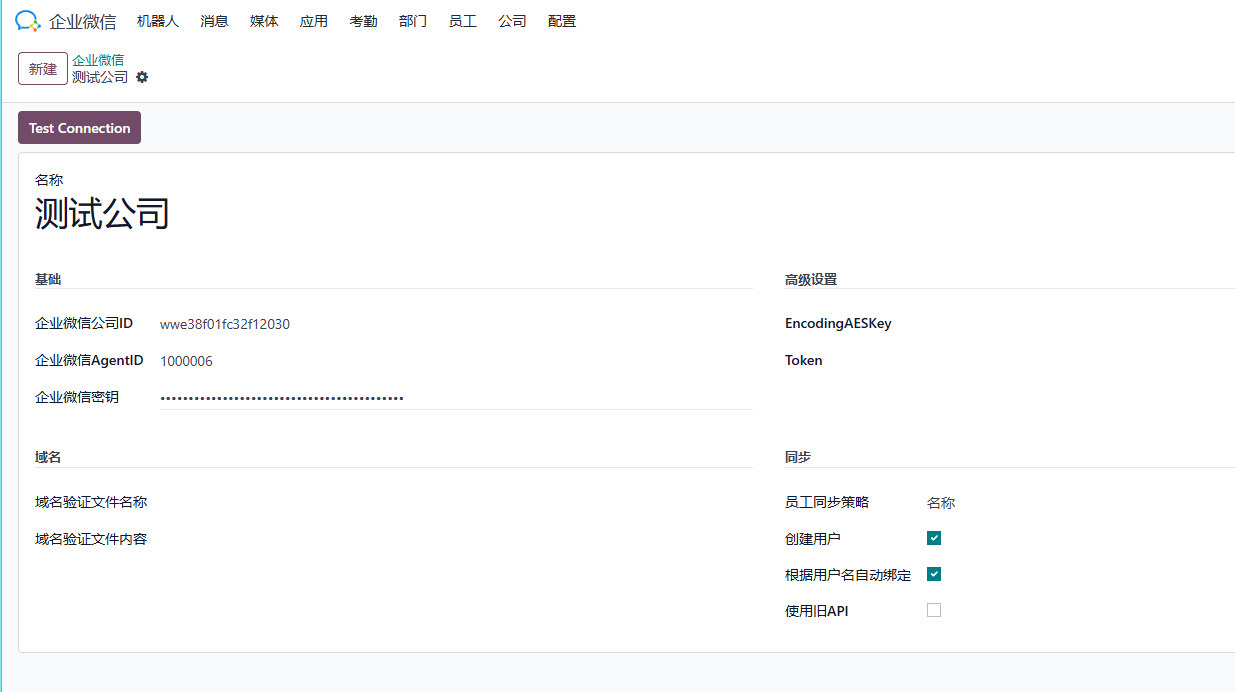
If domain ownership verification is required, enter the generated verification filename and content in the domain settings.
Message Decryption
If Odoo needs to parse messages sent by WeCom servers, configure EncodingAESKey and Token. These can be obtained from the WeCom message API settings.
Bind Company
After setting up the WeCom application, bind it to the company that will use it. Go to WeCom > Companies > WeCom and select the application.
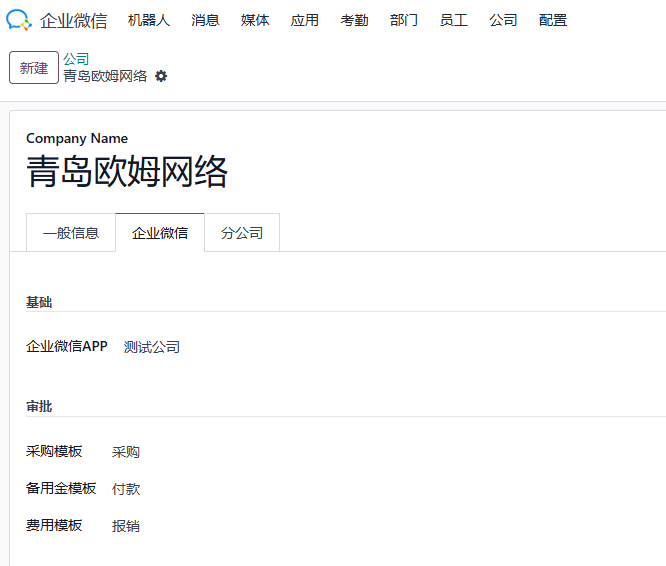
The basic Odoo-side configuration is now complete.
Features
Basic Data Synchronization
The first step after connecting WeCom is synchronizing department and employee data into Odoo. Use WeCom > Settings > Sync Departments and Sync Employees.
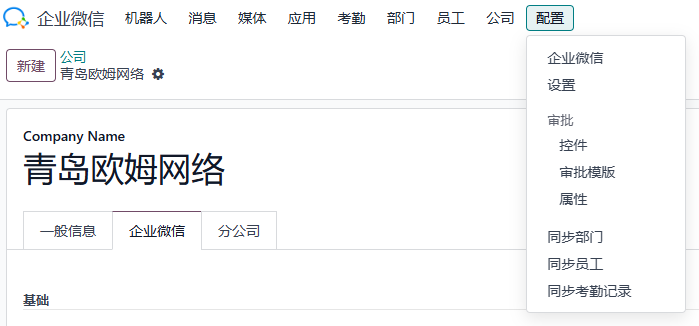
Employee Synchronization
During employee synchronization, users can choose automatic user binding or user creation.
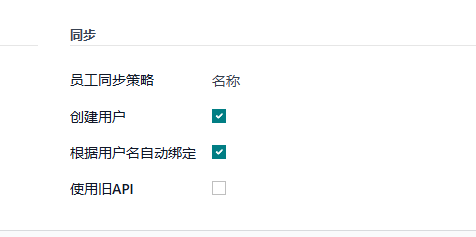
Automatic Binding
By default, synchronization matches employees by name. The matching strategy can be adjusted in application settings. Supported strategies include:
| Strategy |
|---|
| Match by name |
| Match by email |
| Match by phone |
| Match by email or phone |
| Match when any of the above conditions is met |
Automatically Create System Users
If automatic user creation is enabled, Odoo checks whether a user with the same name already exists. If not, it creates a synchronized user.
The login name of an automatically created user is the WeCom ID.
Sensitive Information Authorization
Since 2022, WeCom has treated employee avatar, email, and phone as private information. Applications can only obtain these fields after the employee grants authorization.
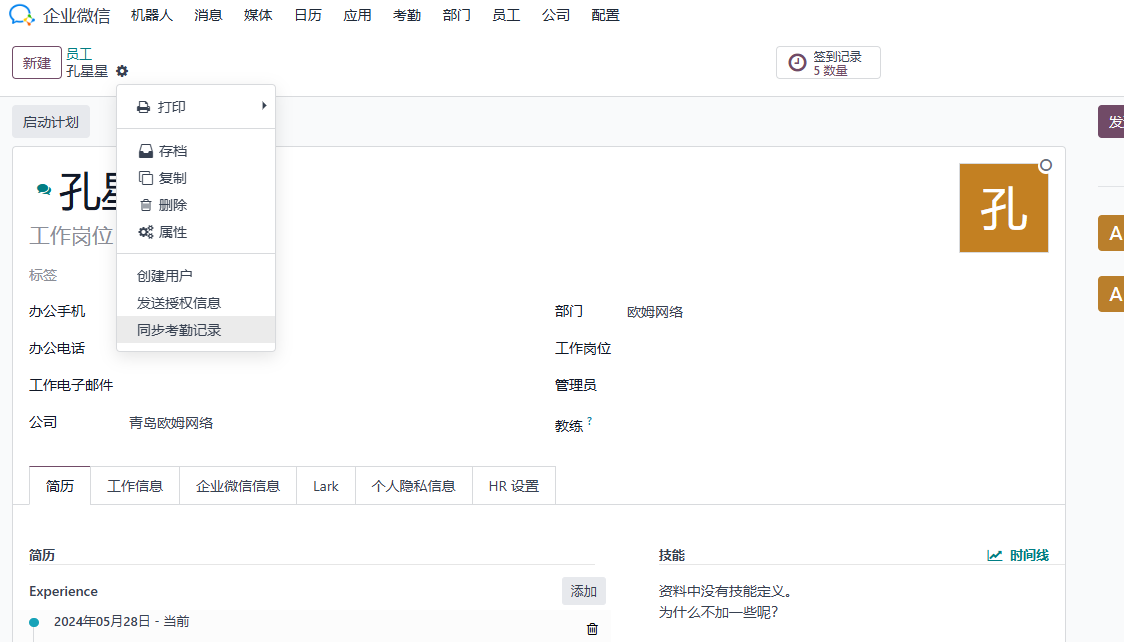
On the employee page, click Action > Send Authorization Message. The employee receives an authorization request in WeCom. After approval, Odoo can obtain avatar, email, phone, and other sensitive fields.
QR Code Login
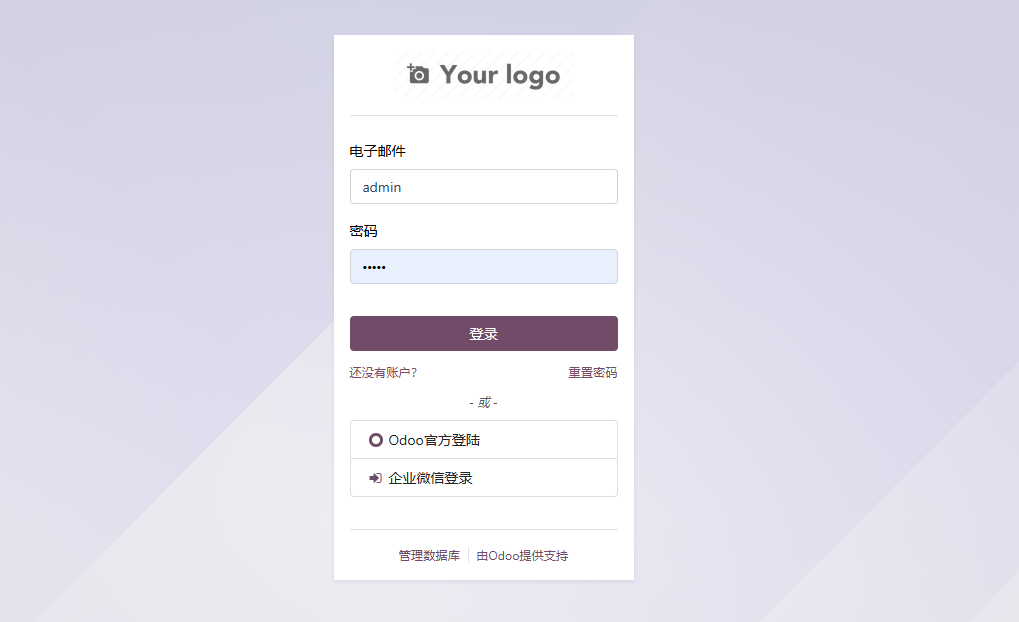
After basic data synchronization, enable QR code login to simplify employee login. Go to Settings > Users > OAuth Providers and open the WeCom OAuth Provider line.
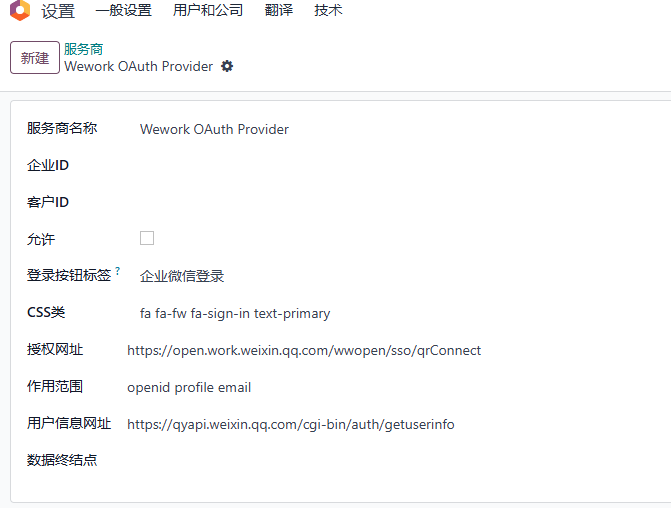
Enable the provider and enter Corp ID and AgentID.
After logging out, the login page shows a WeCom login button. Click it to display the QR code login page, then scan with WeCom to log in.
Menu Management
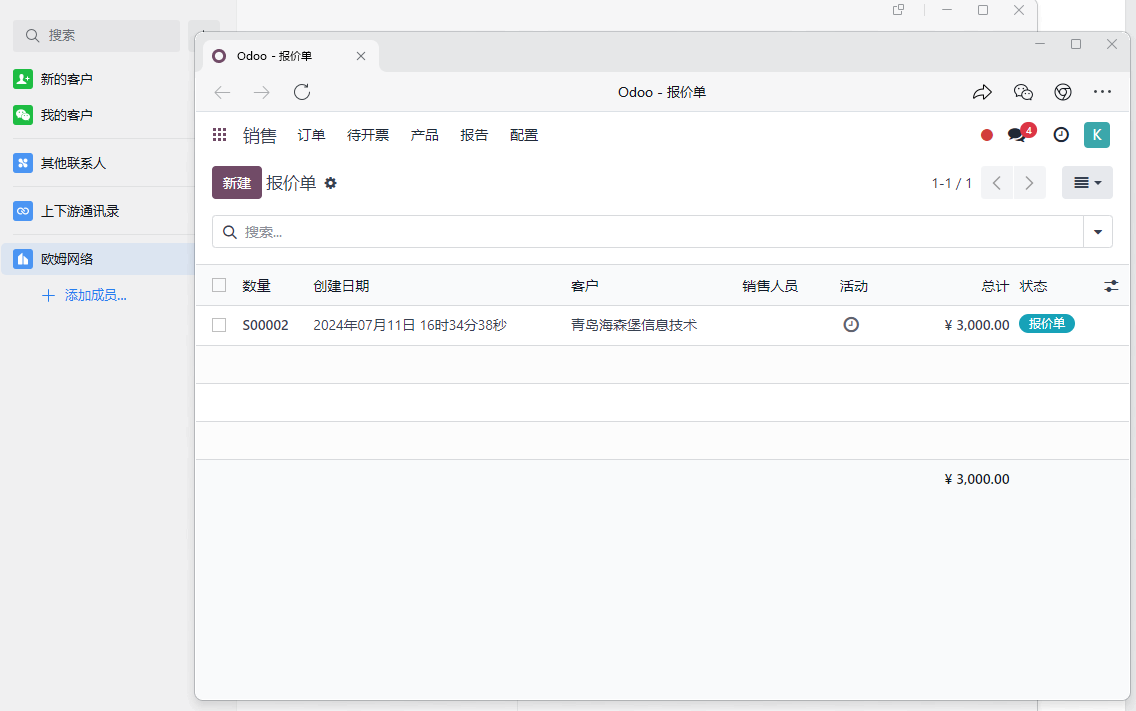
The custom application appears in the WeCom app list. It supports custom menus, which can be configured in Odoo and linked to suitable actions.
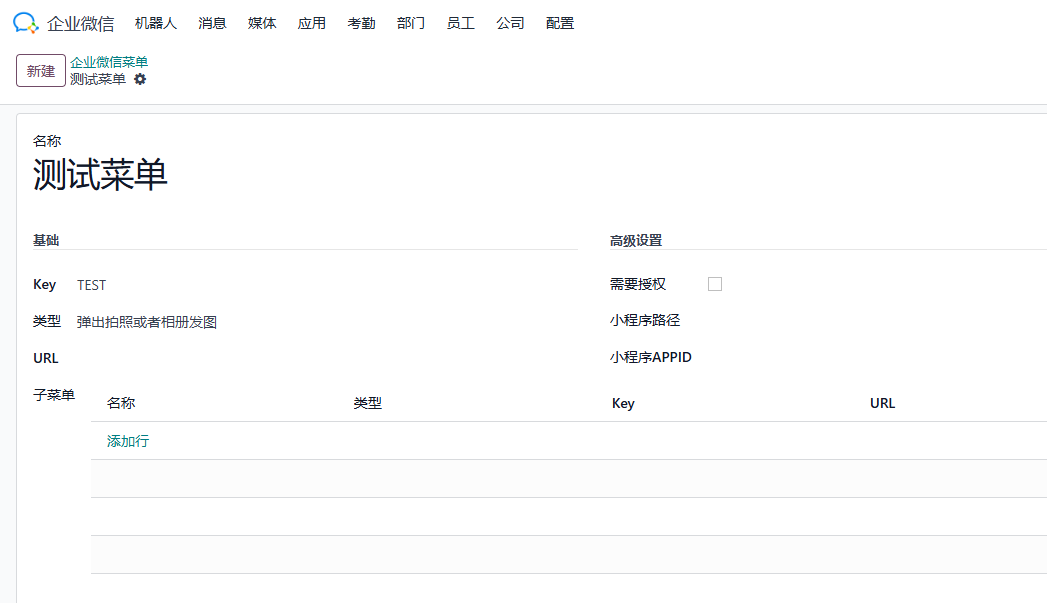
An application supports up to three top-level menus and five submenus under each top-level menu.
Menus can be linked directly to specific Odoo pages, allowing employees to open target records or actions quickly.
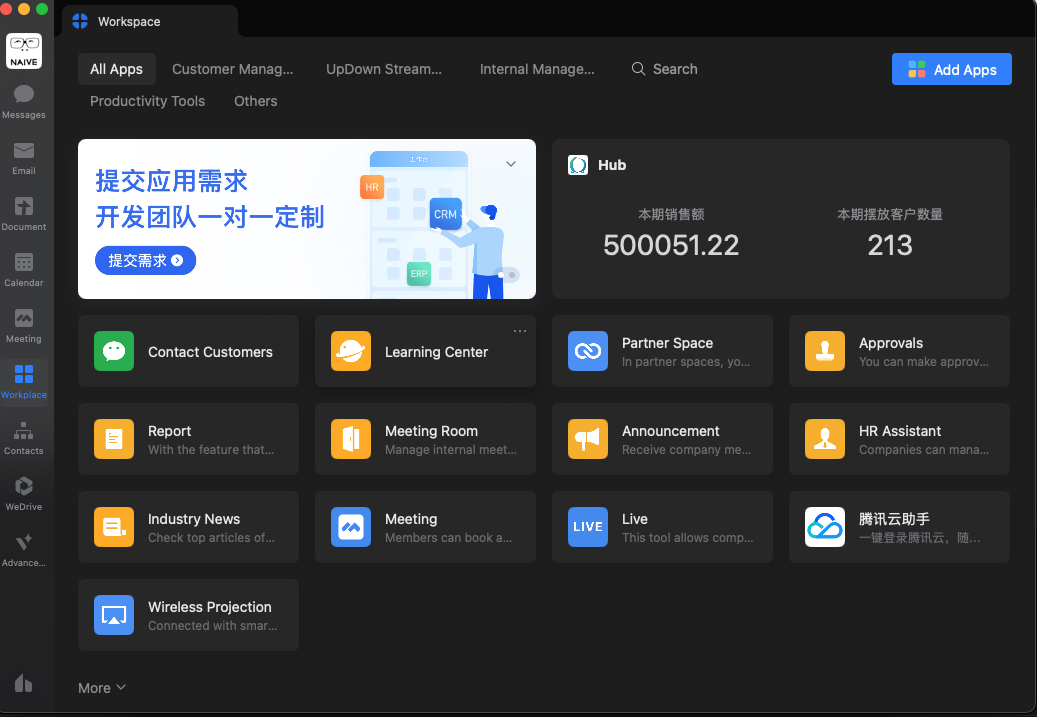
Workbench
Compared with the application home page, the WeCom workbench is more visible and can be customized to display data.
Create a workbench under WeCom > Applications > Workbench and configure its style.
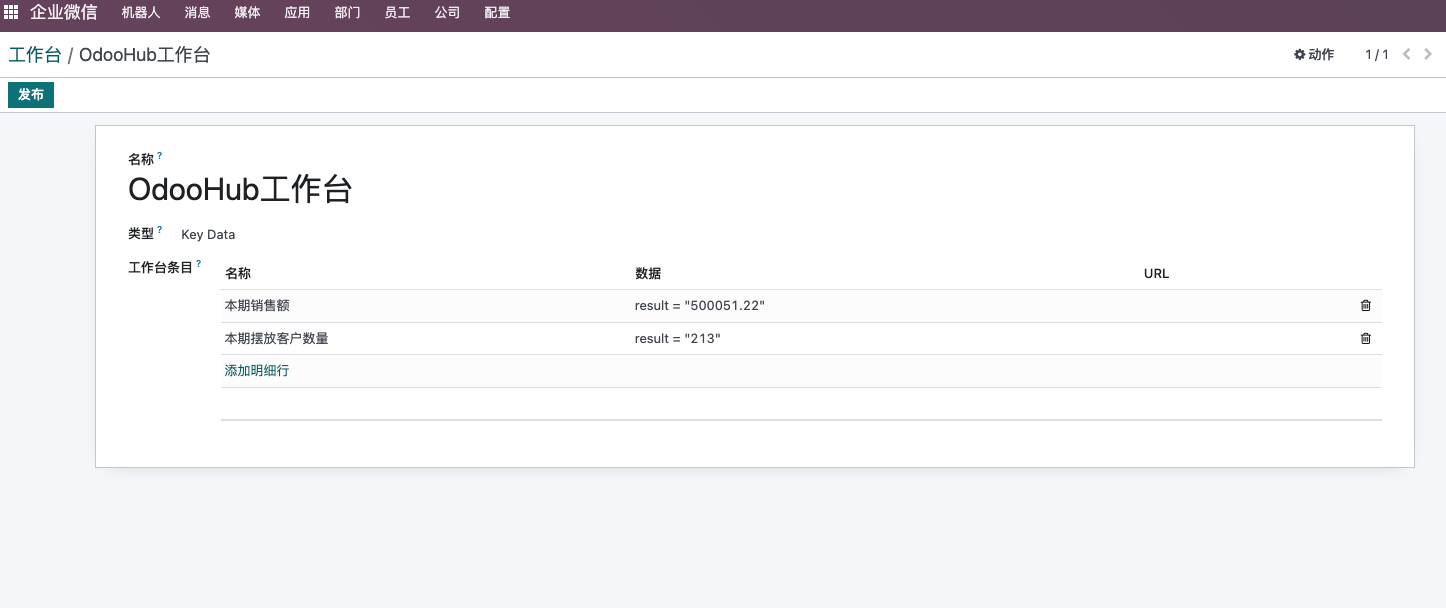
Users can then see customized data display in the WeCom client workbench.
Robot Messages
Many business messages can be pushed in real time through robots. The module supports customized robot messages.
First, create a robot from the robot menu.
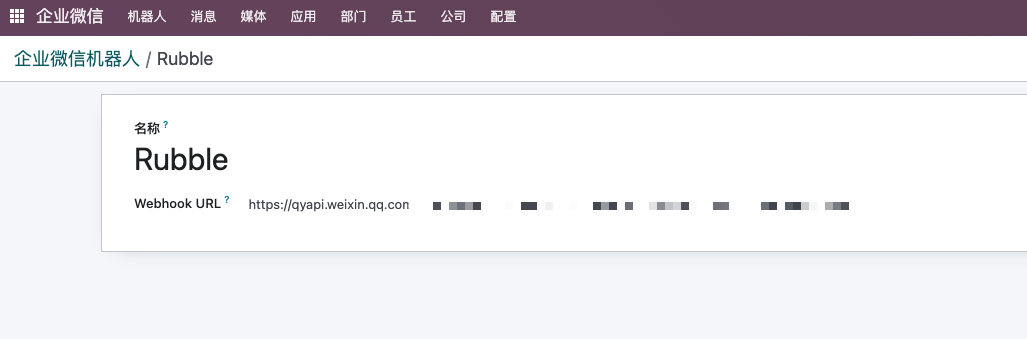
Enter the Webhook URL of the robot.
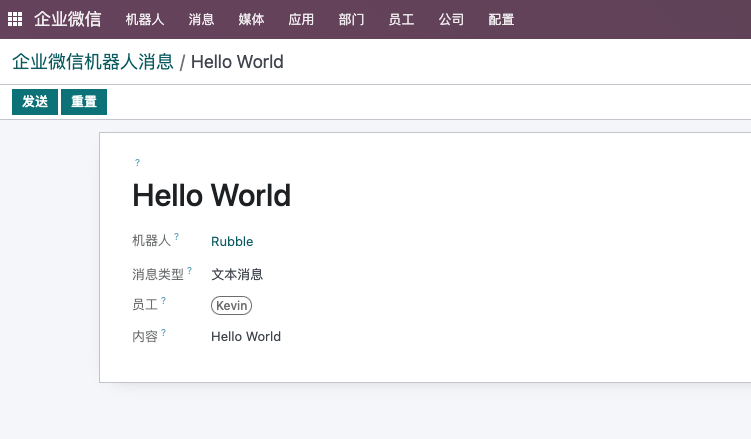
To send a robot message, go to Robots > Robot Messages and create a test message.
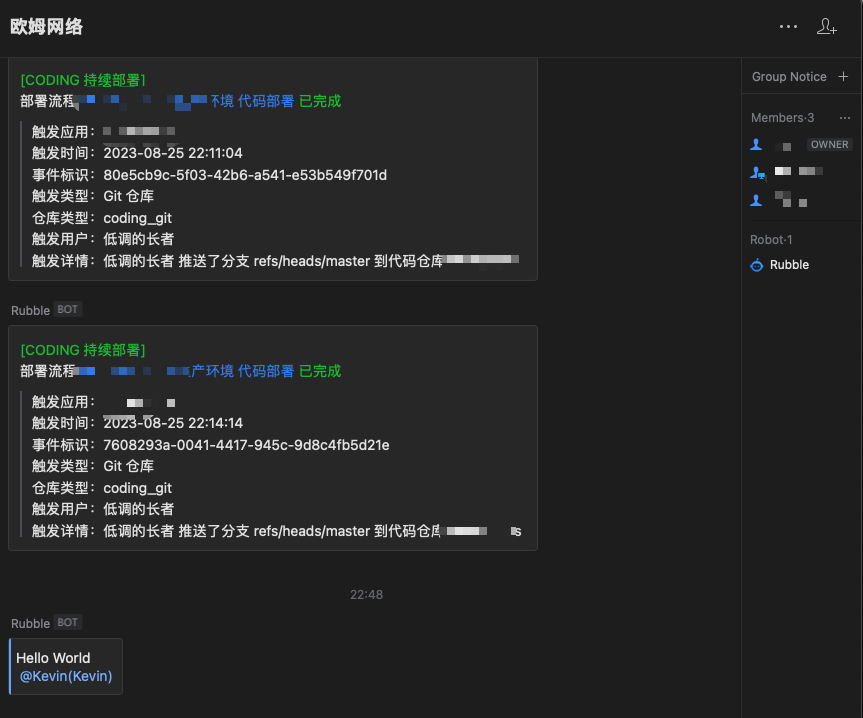
The message is received in the group where the robot is located.
Chatter Messages
To connect Odoo chatter with WeCom, enable instant messaging settings.
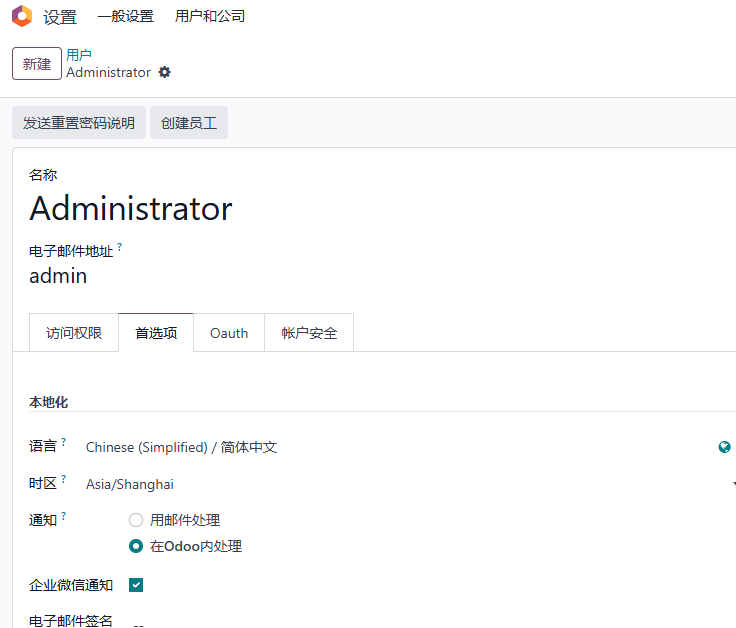
When a user mentions an employee in the chatter of any document, Odoo sends a WeCom notification automatically.
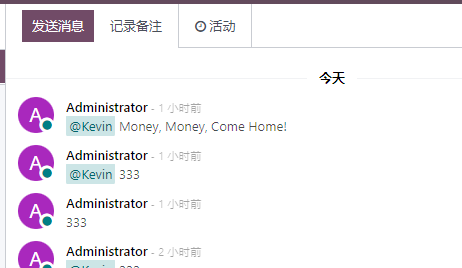
The employee receives the message in WeCom immediately.
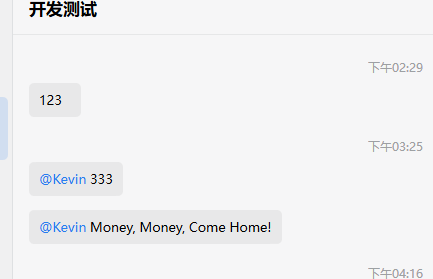
The employee can reply directly in the WeCom dialog. The reply is attached back to the original Odoo document according to the latest related record.
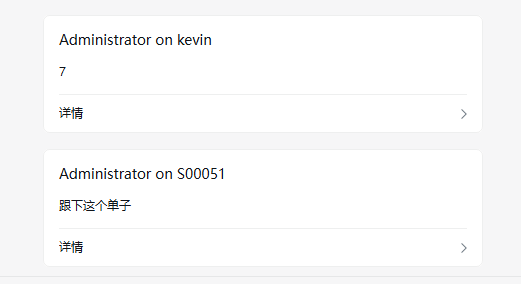
The default message format is text. Card-style messages can be selected in WeCom settings.
This chapter introduced the base WeCom solution. With WeCom connected to Odoo, companies can extend into approvals, attendance, expenses, and more advanced workflows. The next chapter covers those advanced scenarios.