Xero Integration
Xero is cloud-based accounting software designed for small and medium businesses. It is widely used in New Zealand and Australia for financial management and accounting workflows.
This chapter demonstrates how to connect Odoo with Xero.
Supported versions:
18.0.1.8/17.0.1.6.
Xero-Side Setup
Open the Xero Developer Center and create an application.
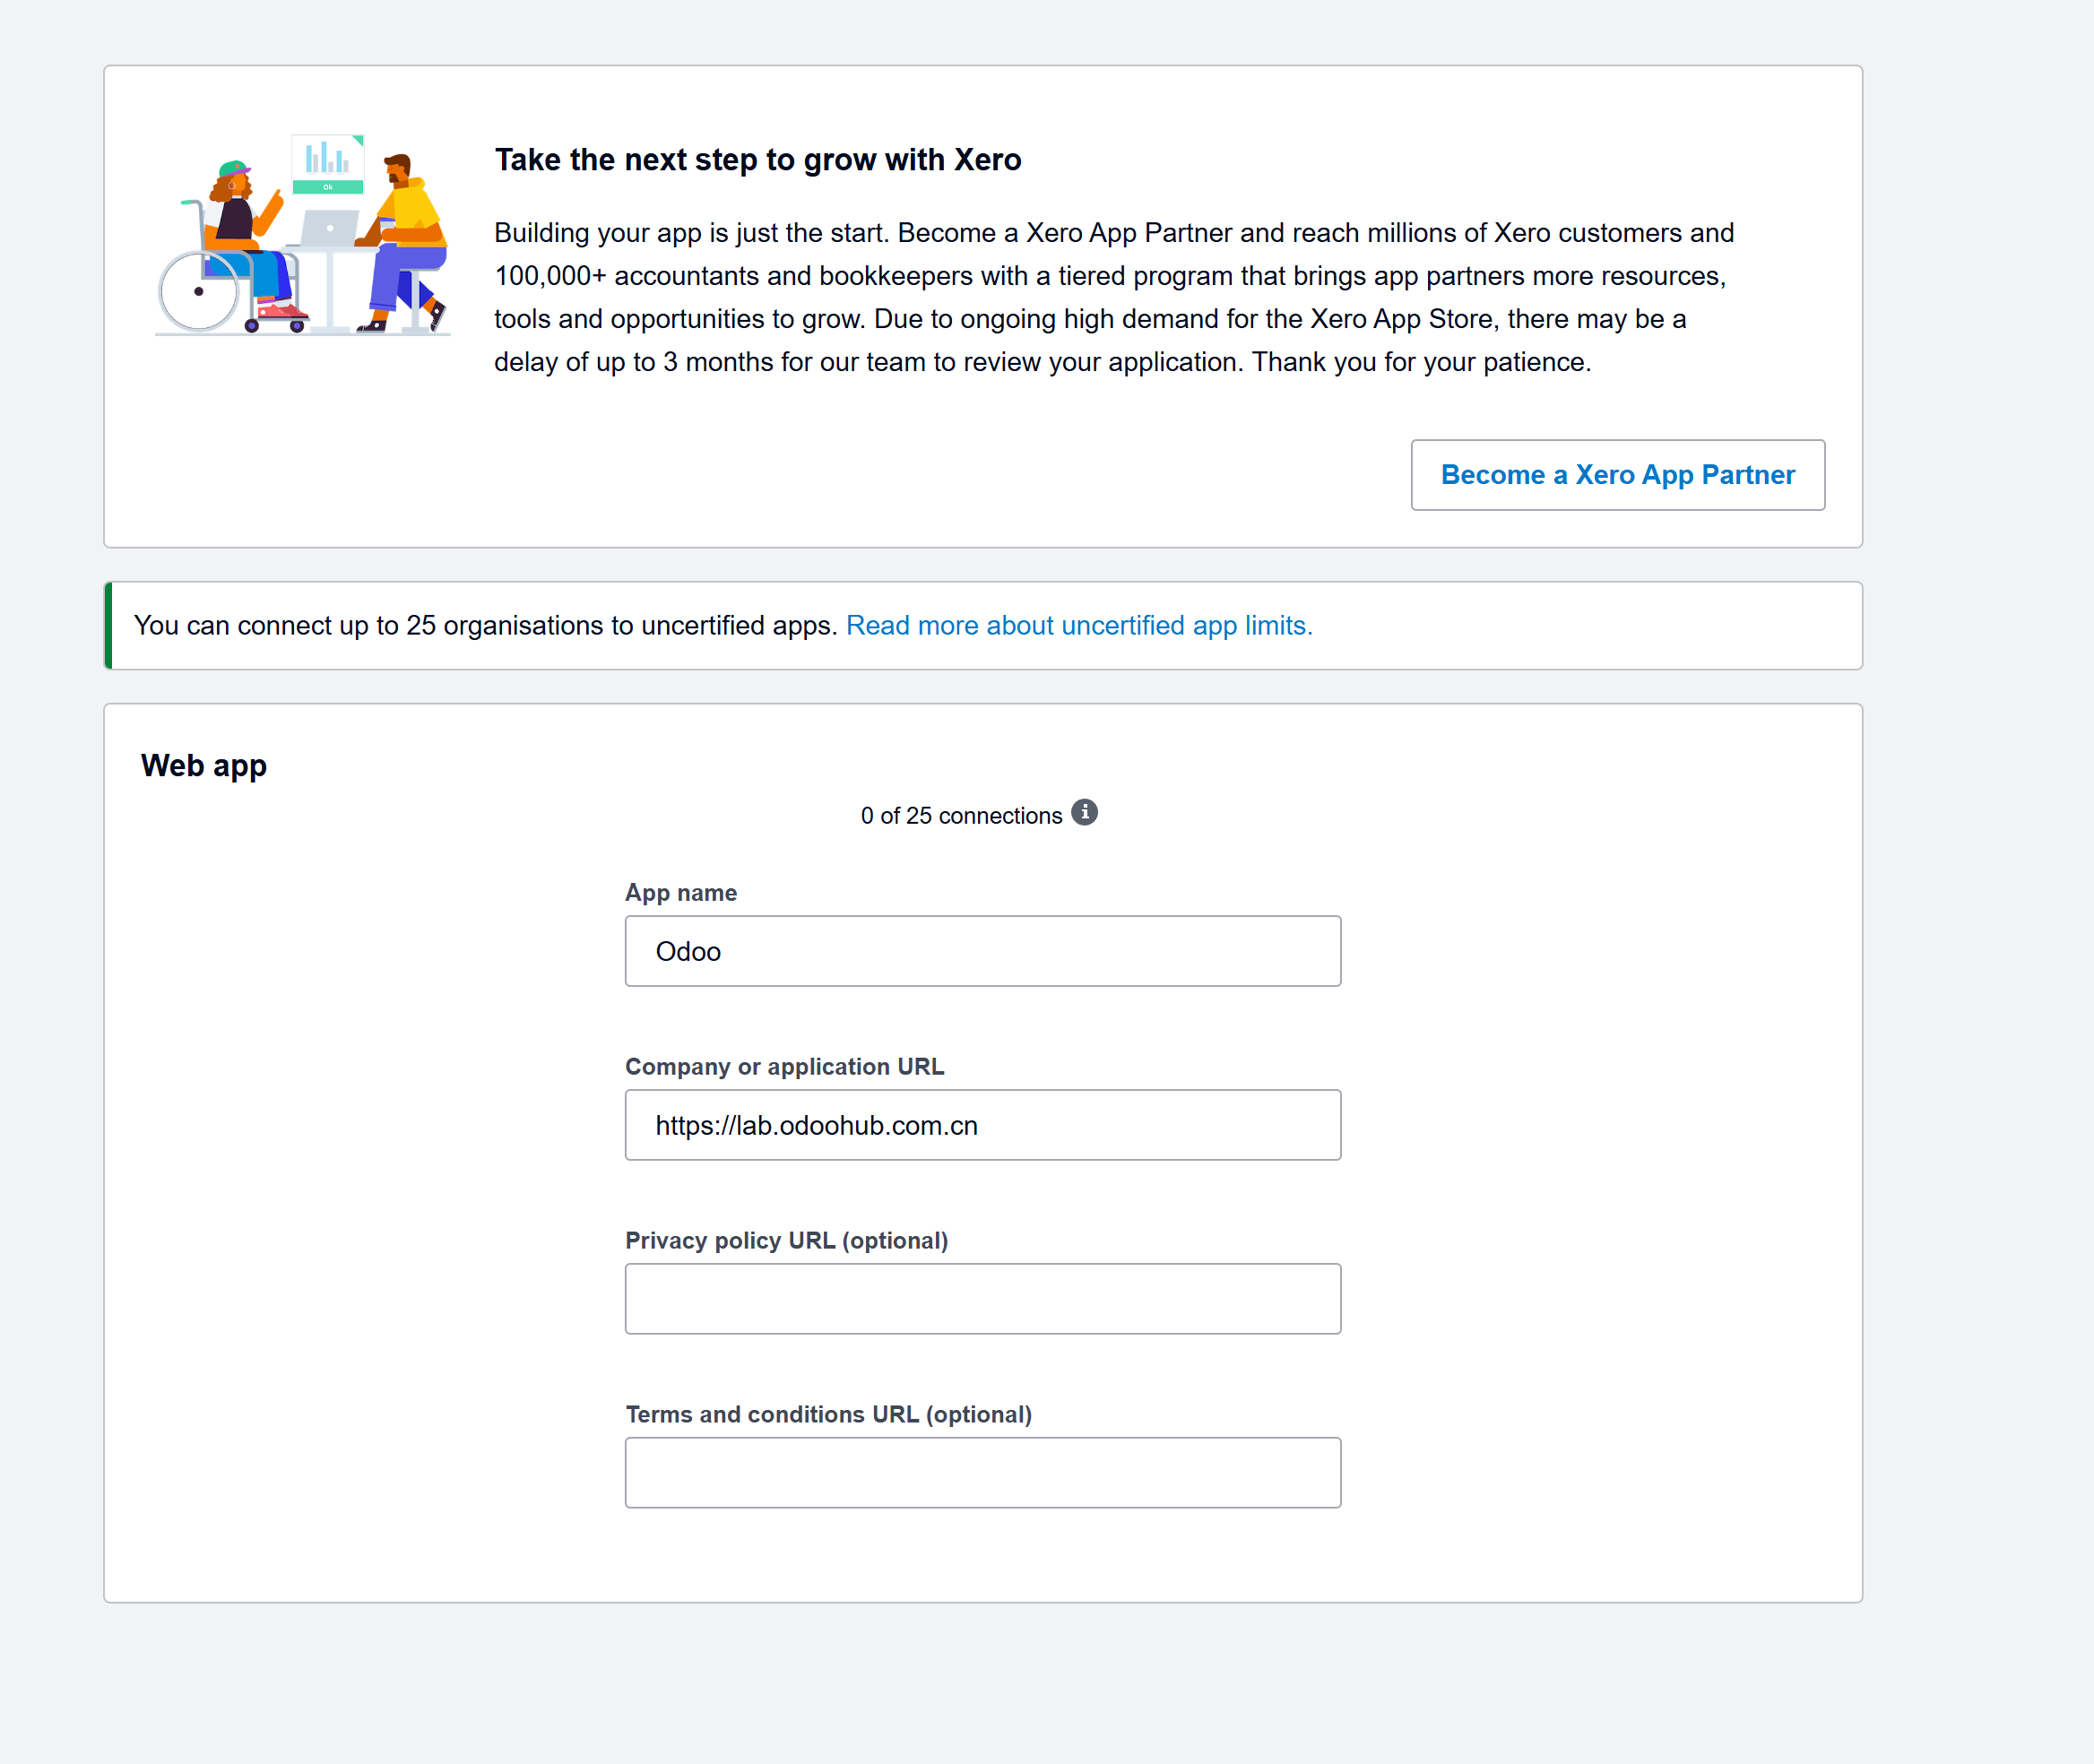
Enter the application name and website, then configure the callback URL.
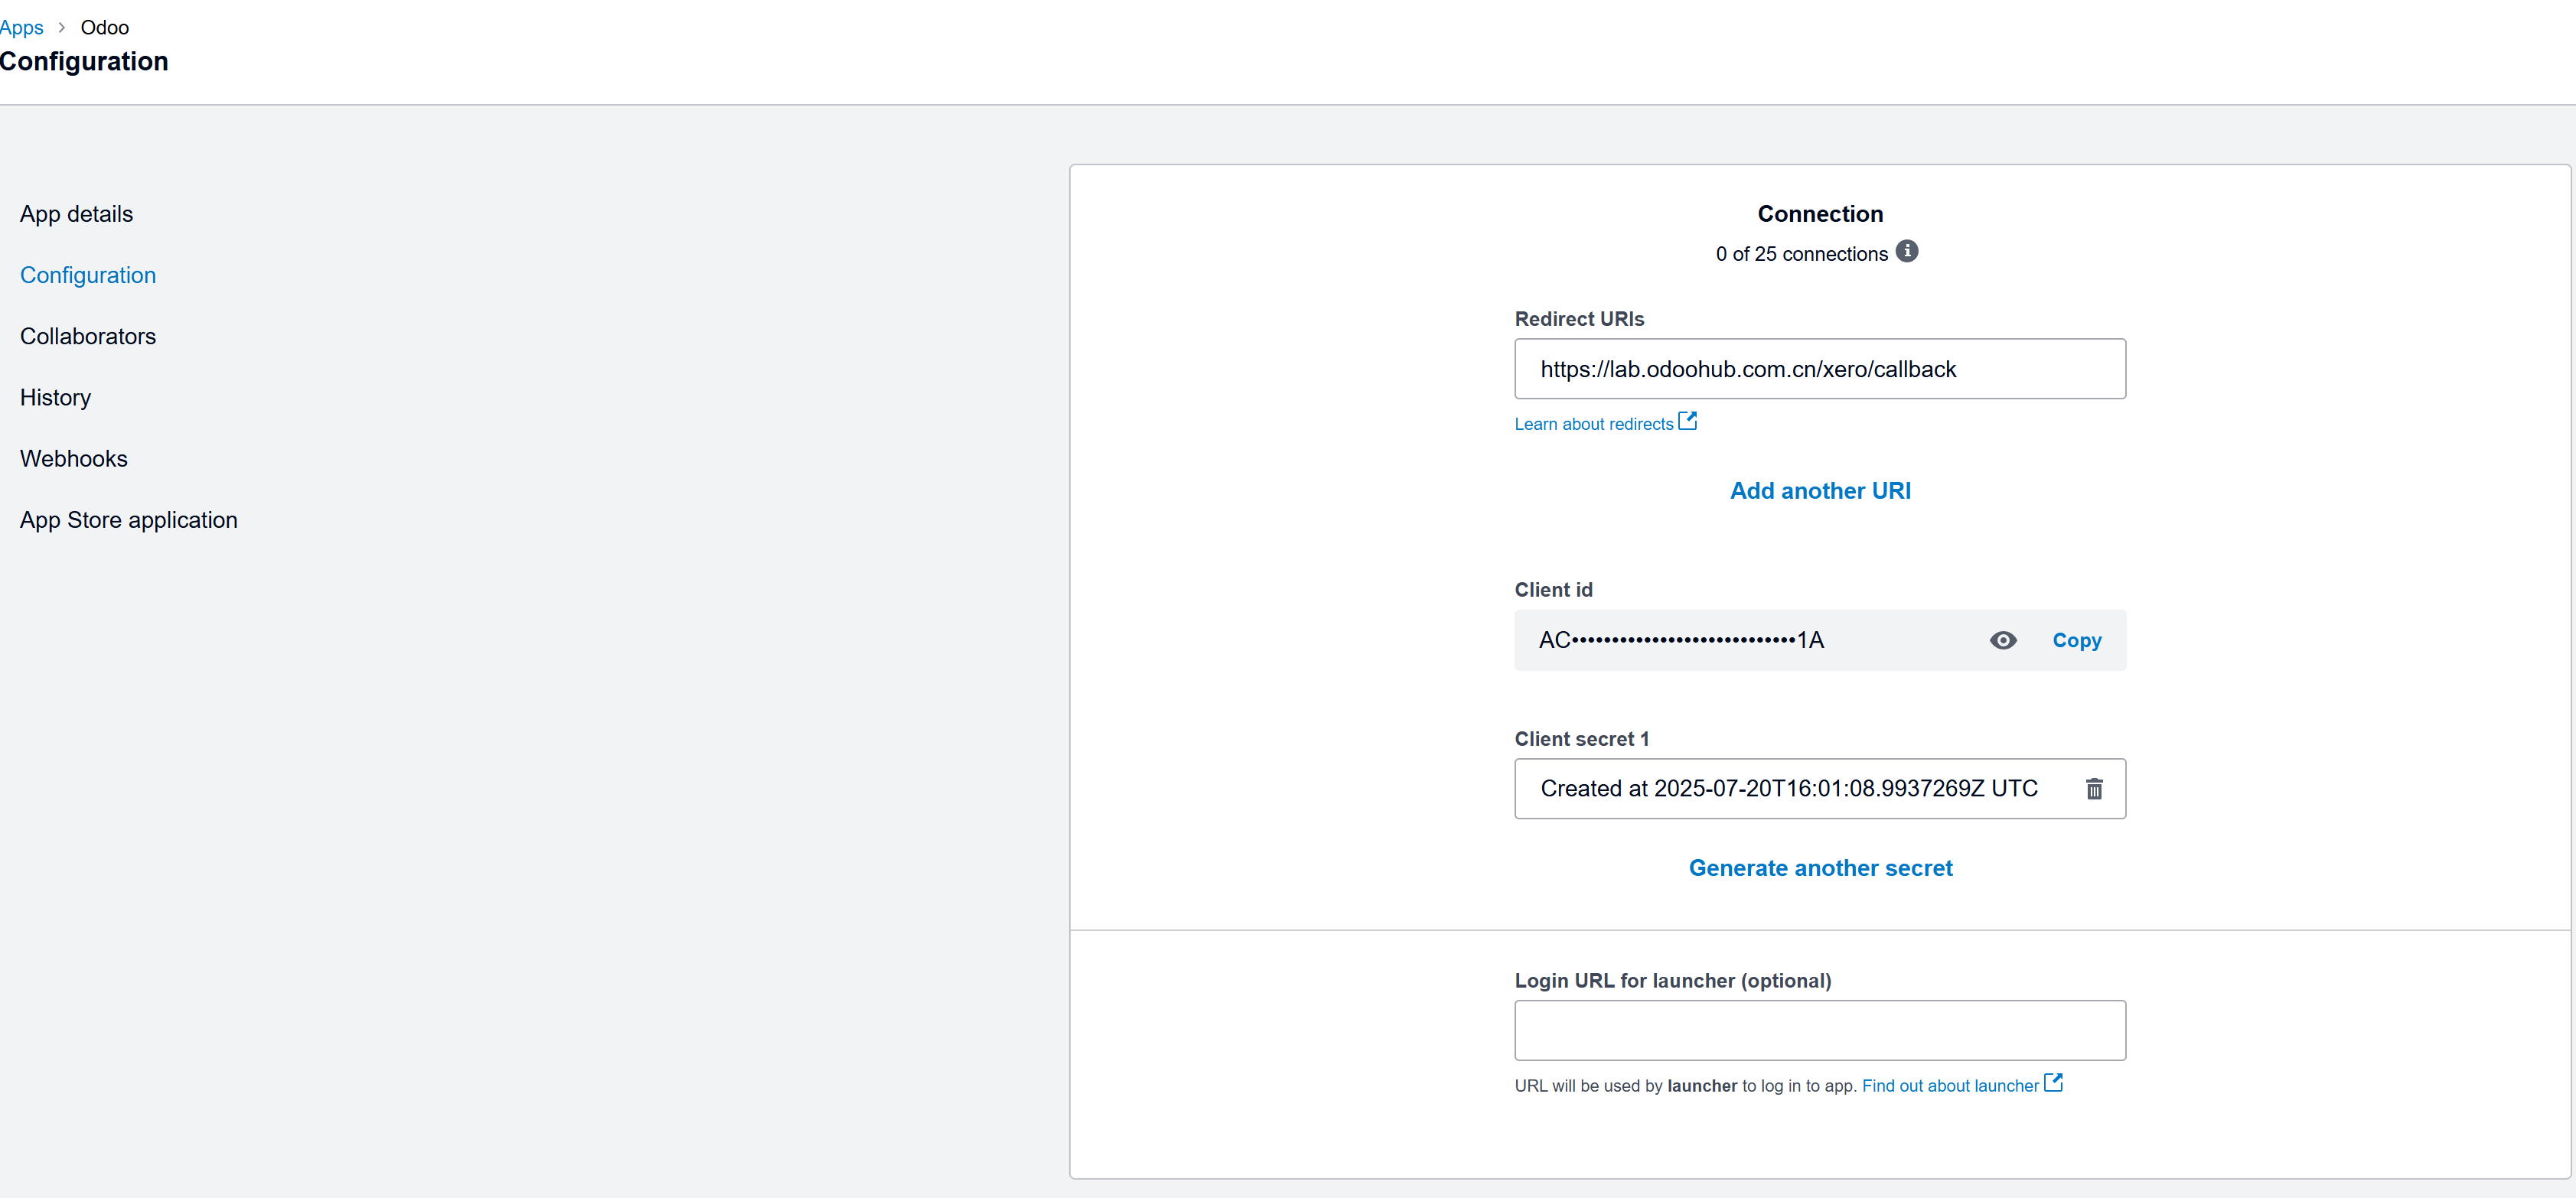
Obtain two important parameters:
| Parameter | Description |
|---|---|
| Client ID | Xero application ID. |
| Client Secret | Xero application secret. |
Get Tenant ID
Open API Explorer.
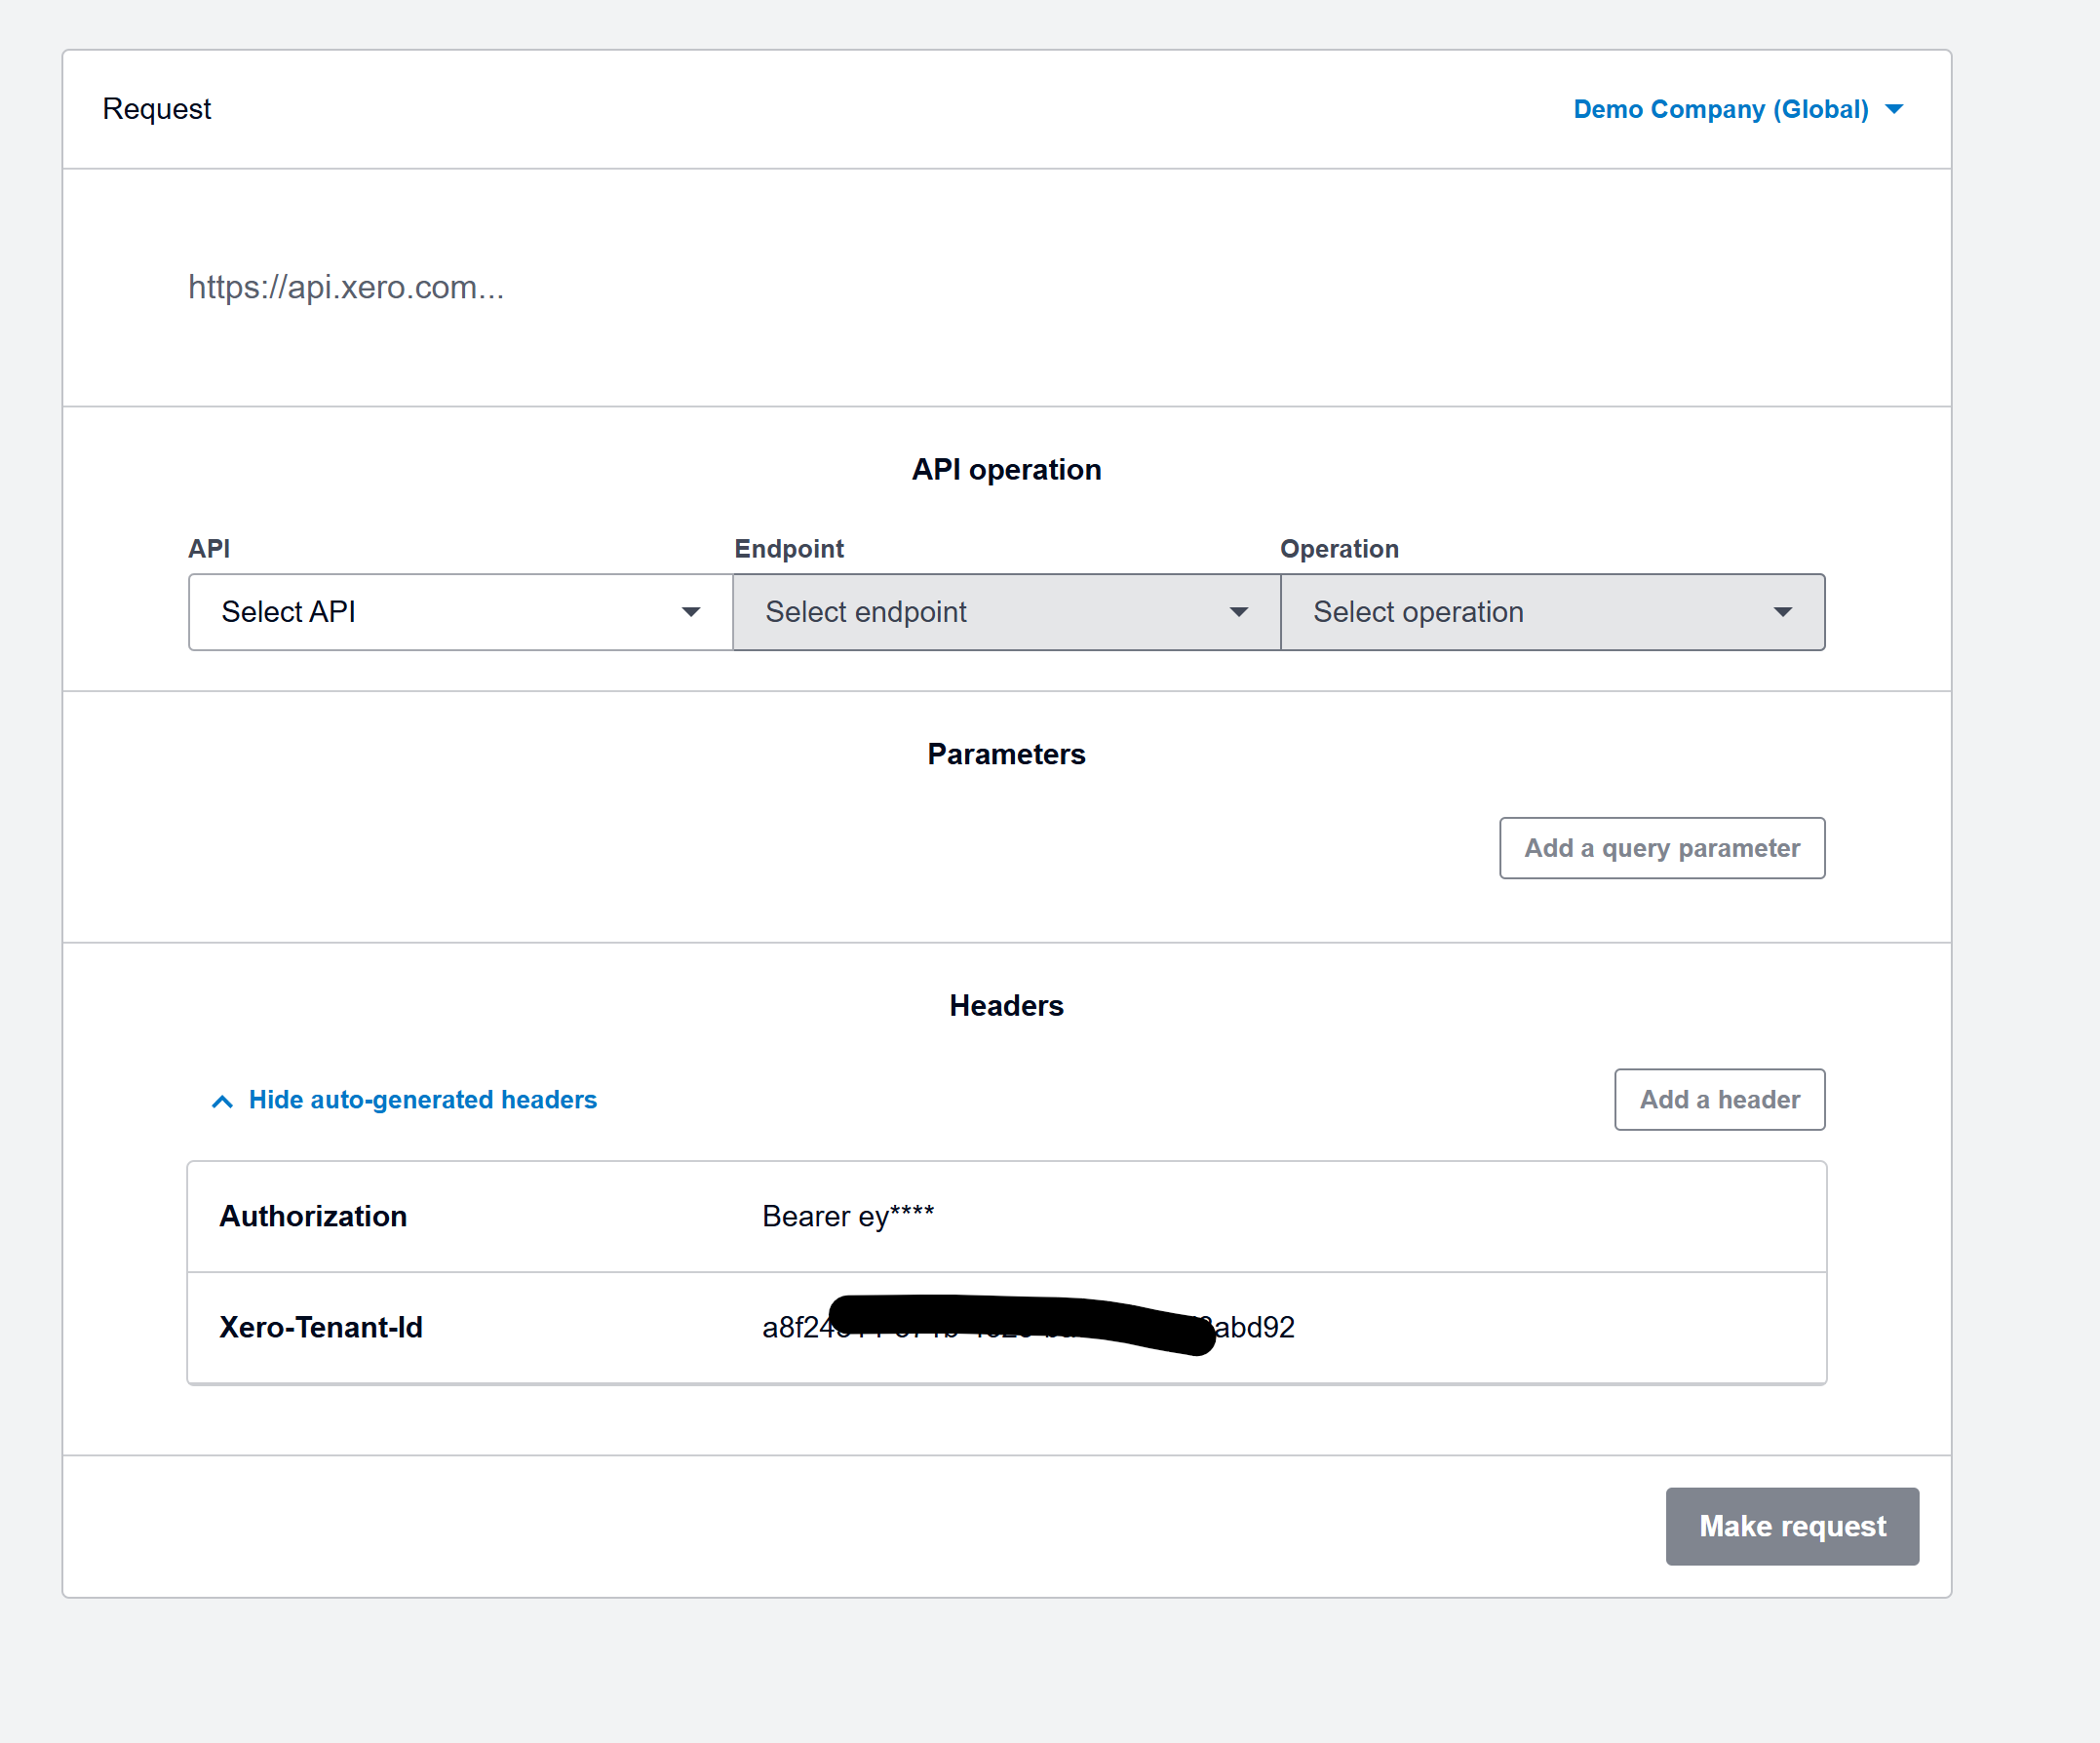
Get the Tenant ID from the headers at the bottom.
After these steps, Odoo can be configured.
Odoo-Side Setup
Install the mommy_xero module.
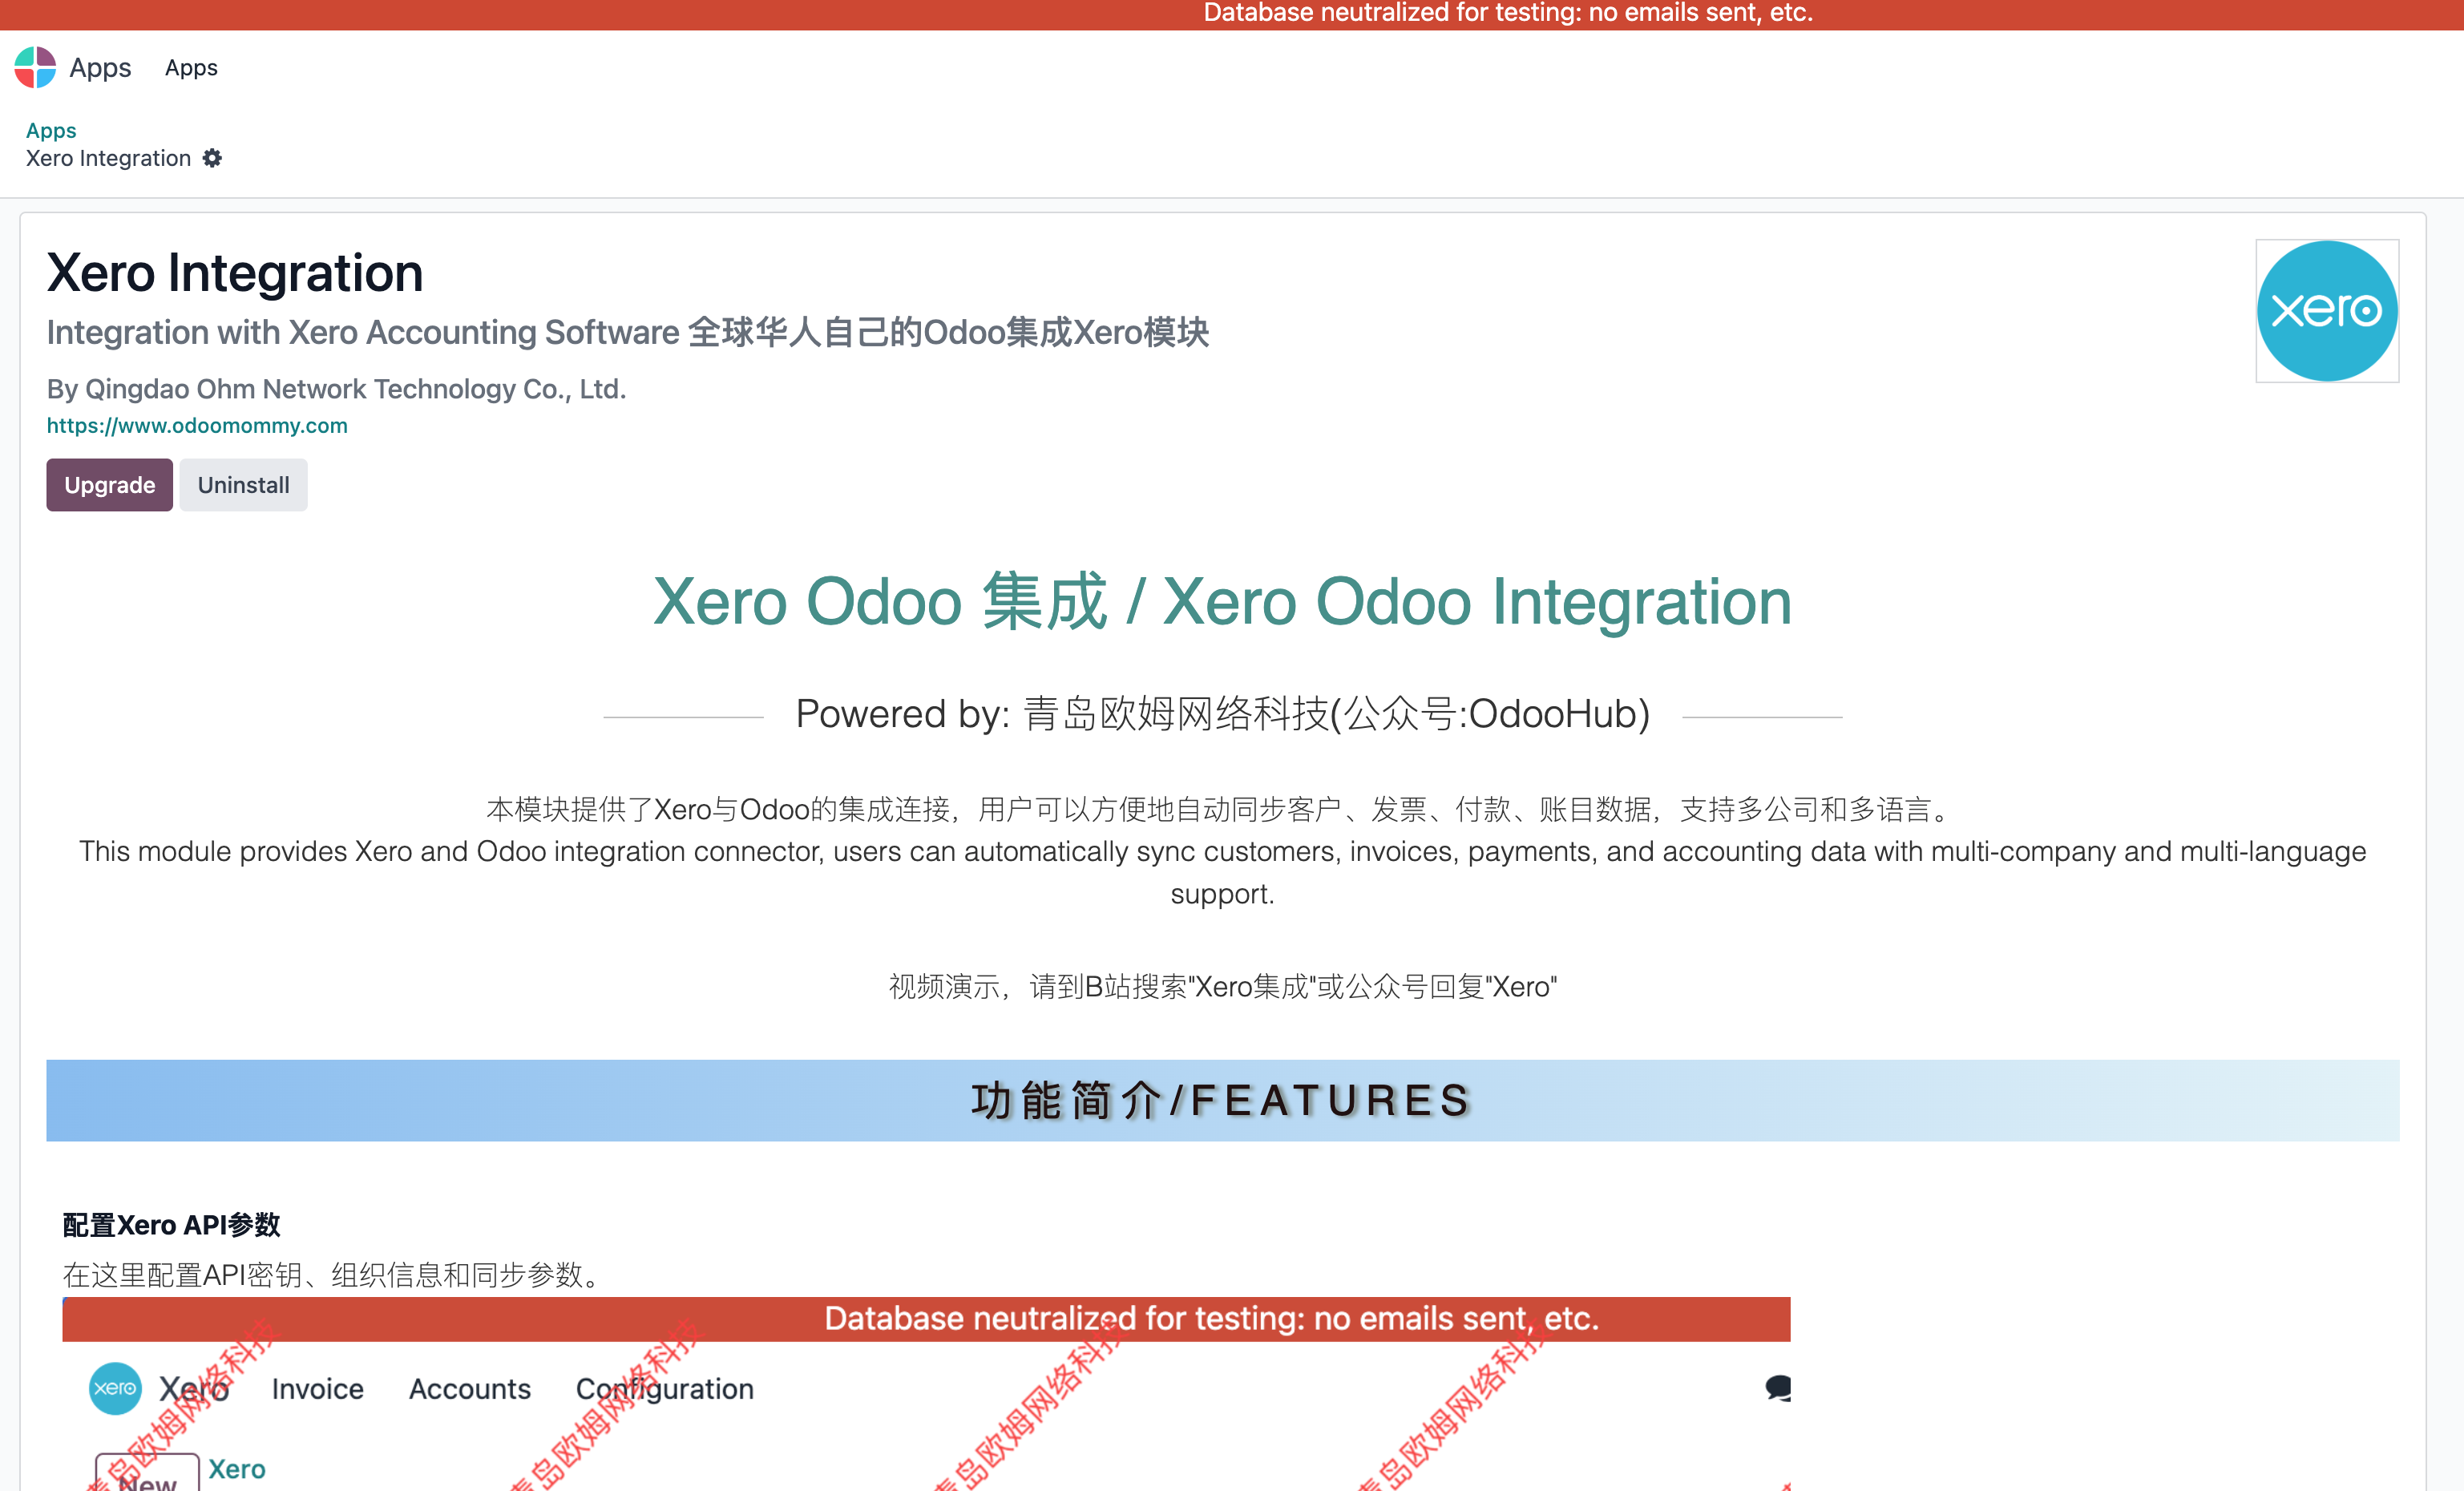
Create A Xero App
Open the Xero application from the Odoo main app list and create a Xero app in settings.
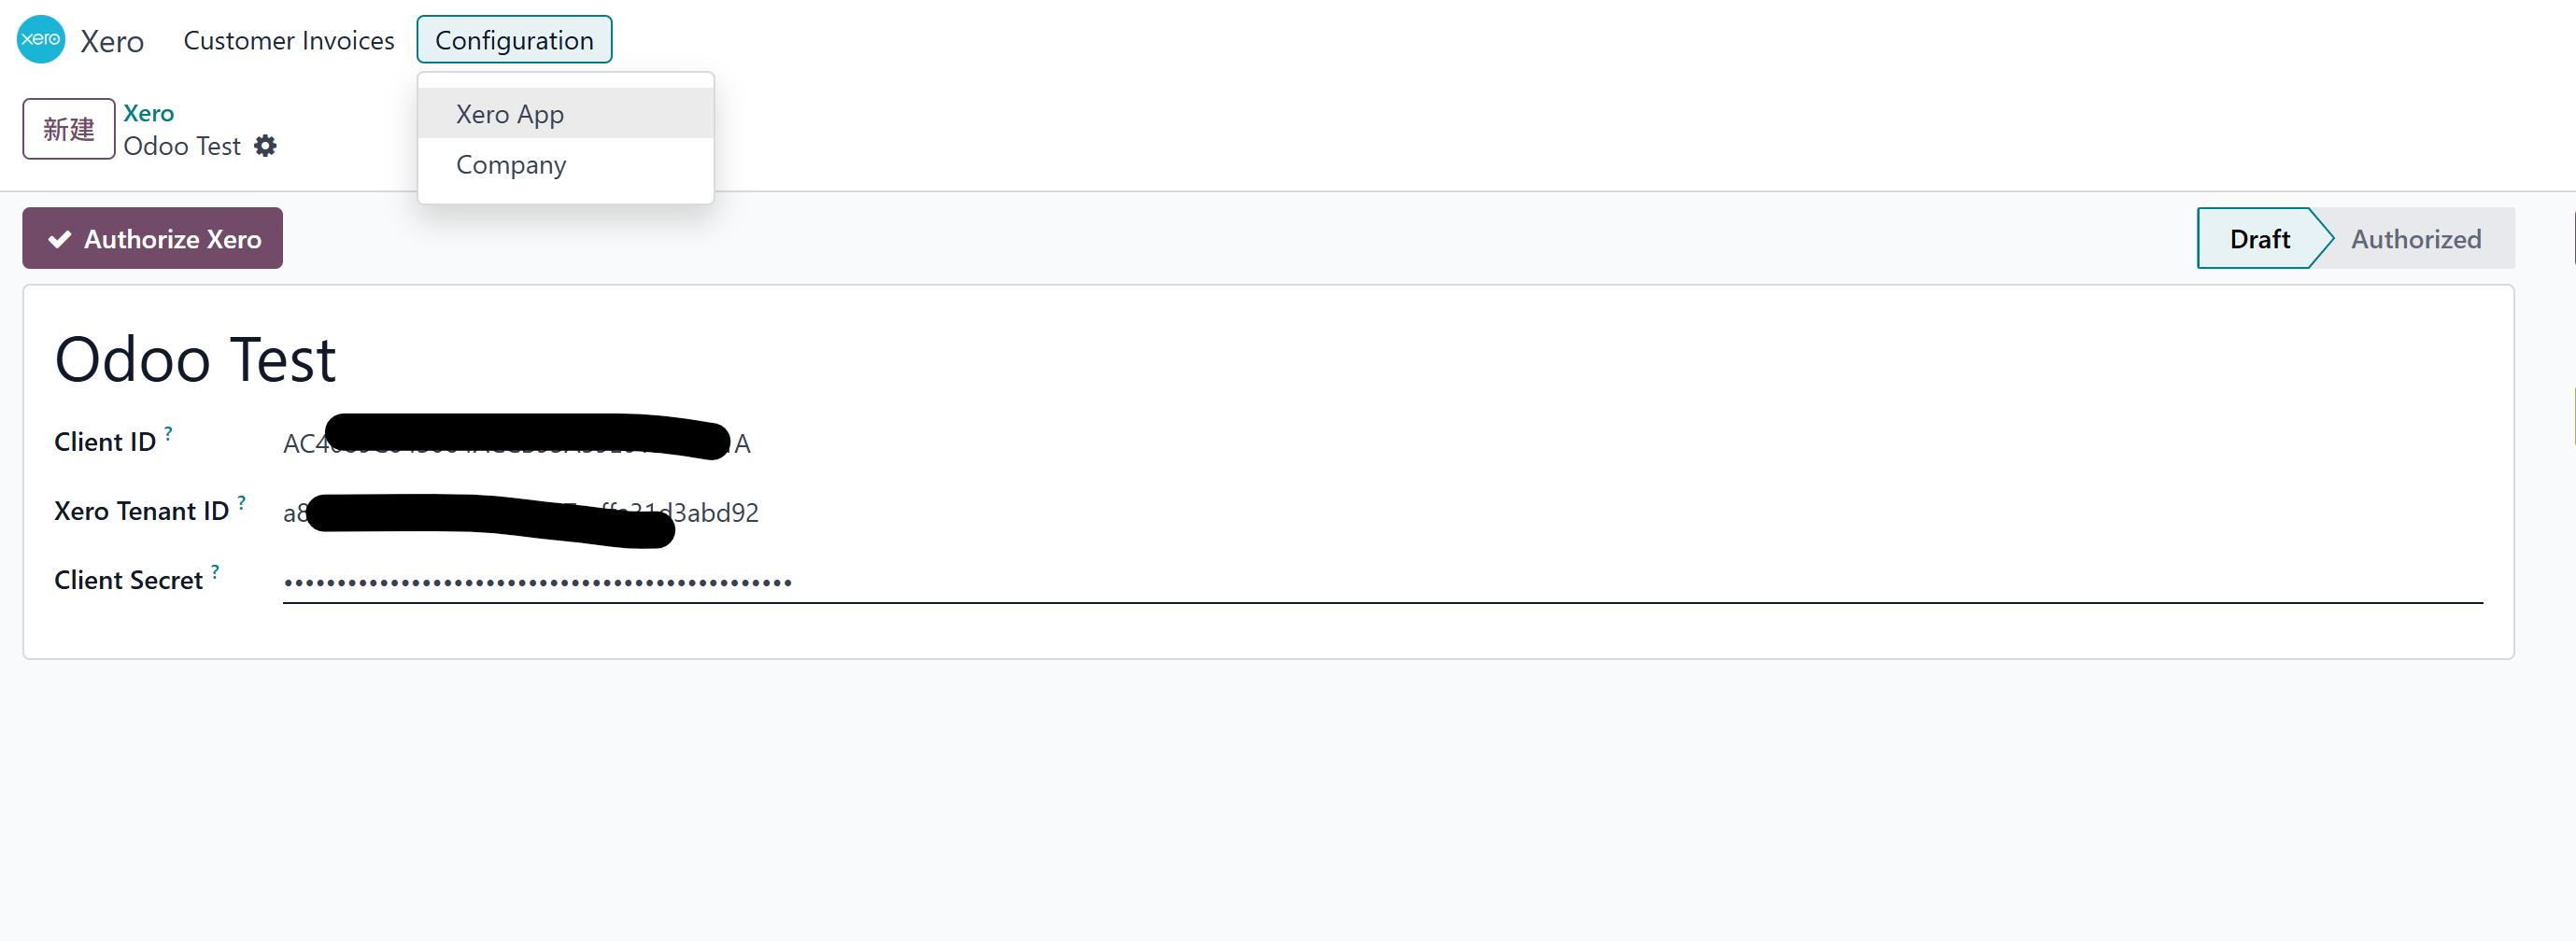
Enter the Client ID and Client Secret obtained earlier.
Bind Company
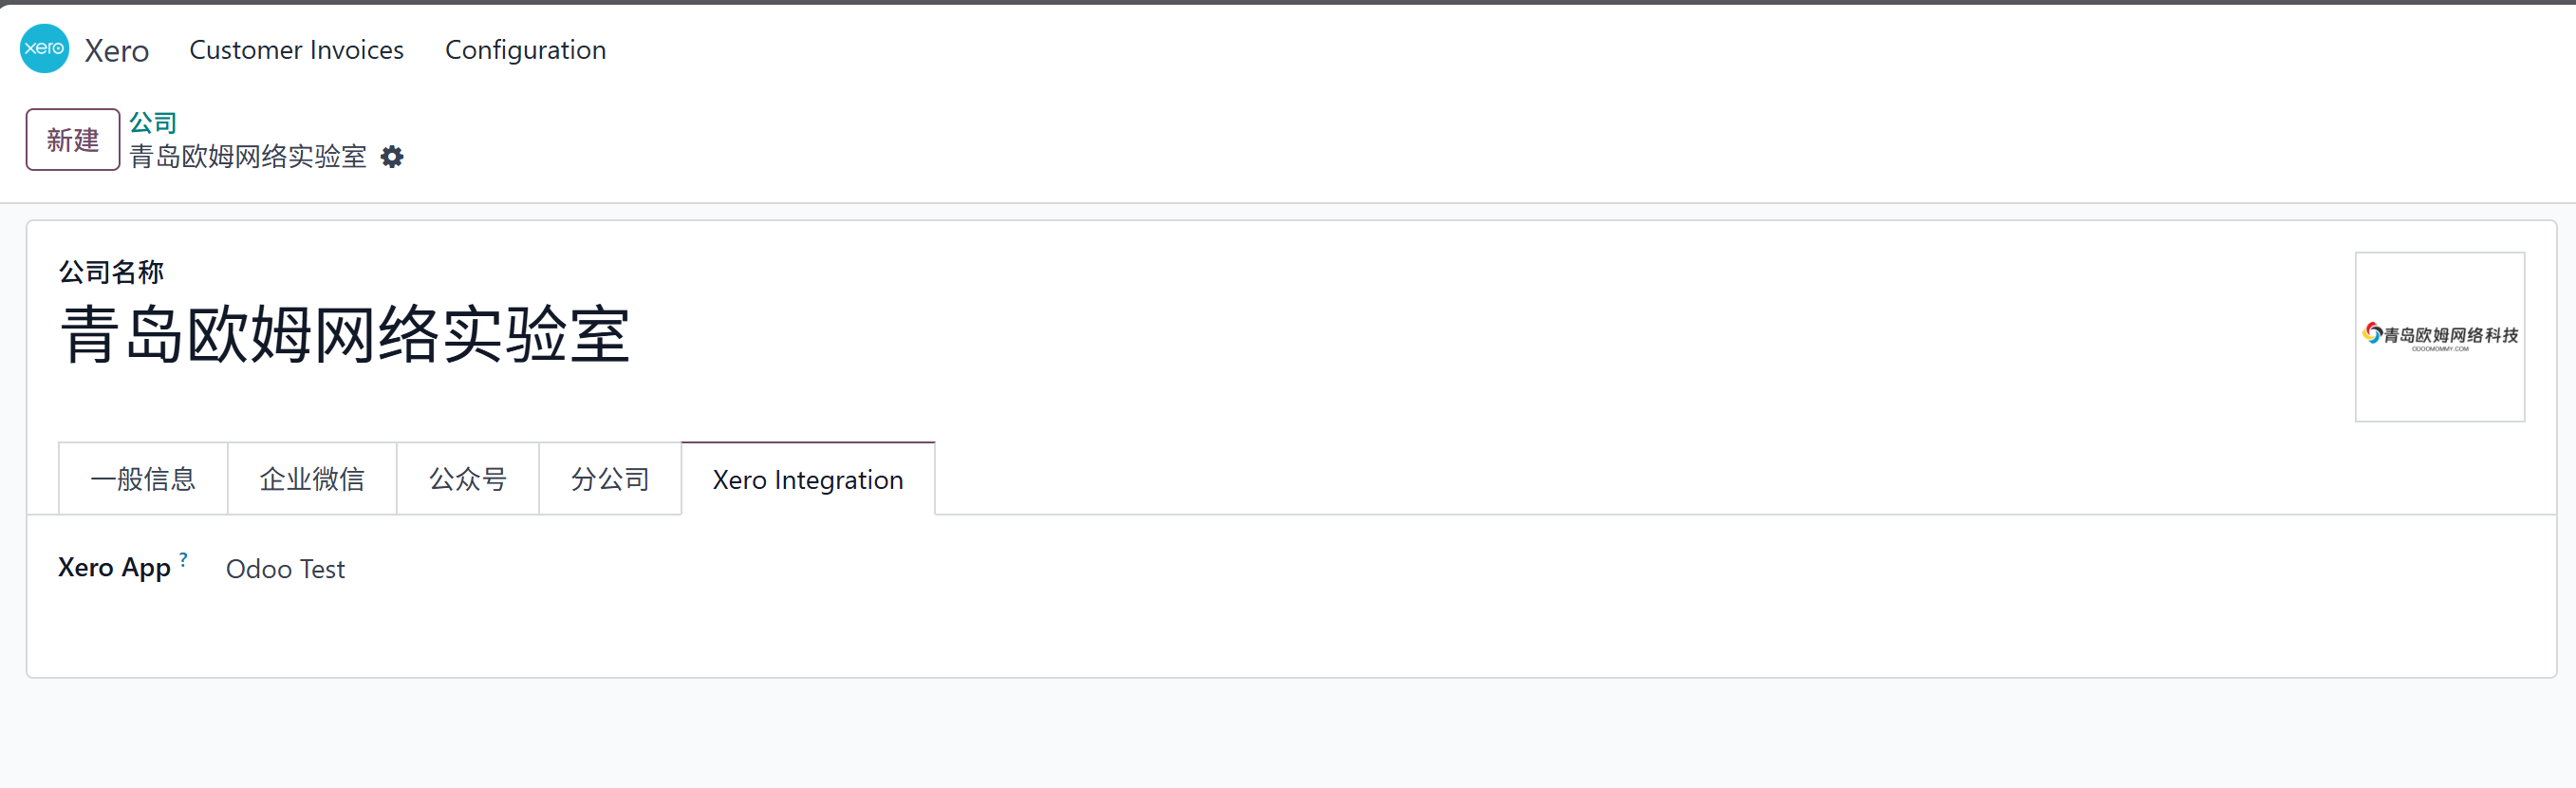
Bind the Xero app to the current company. Go to Settings > Companies, select the company, and choose the Xero app on the Xero tab.
Scope
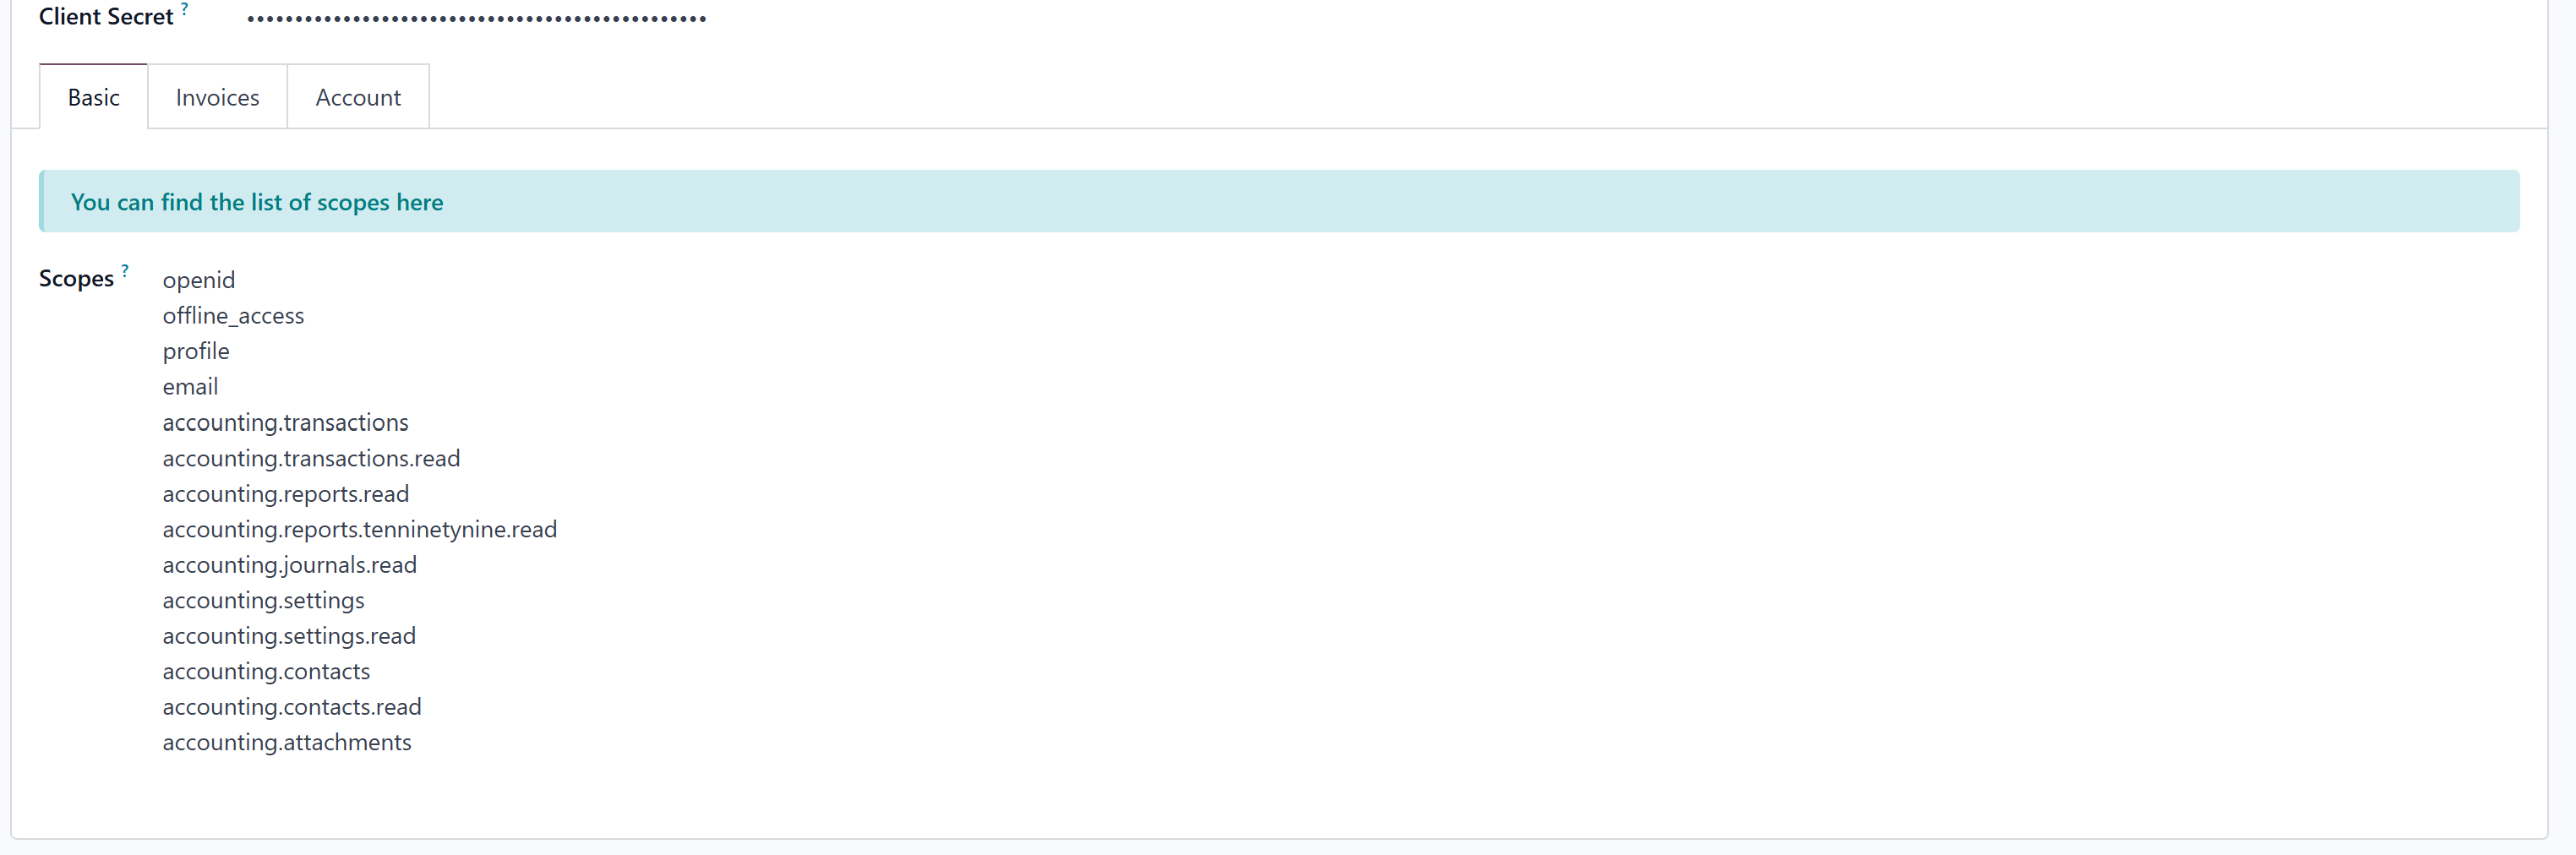
Before authorization, define the scopes the Xero app can use.
OAuth Authorization
Xero uses OAuth2. Click authorize on the Xero app to go to Xero's authorization page.
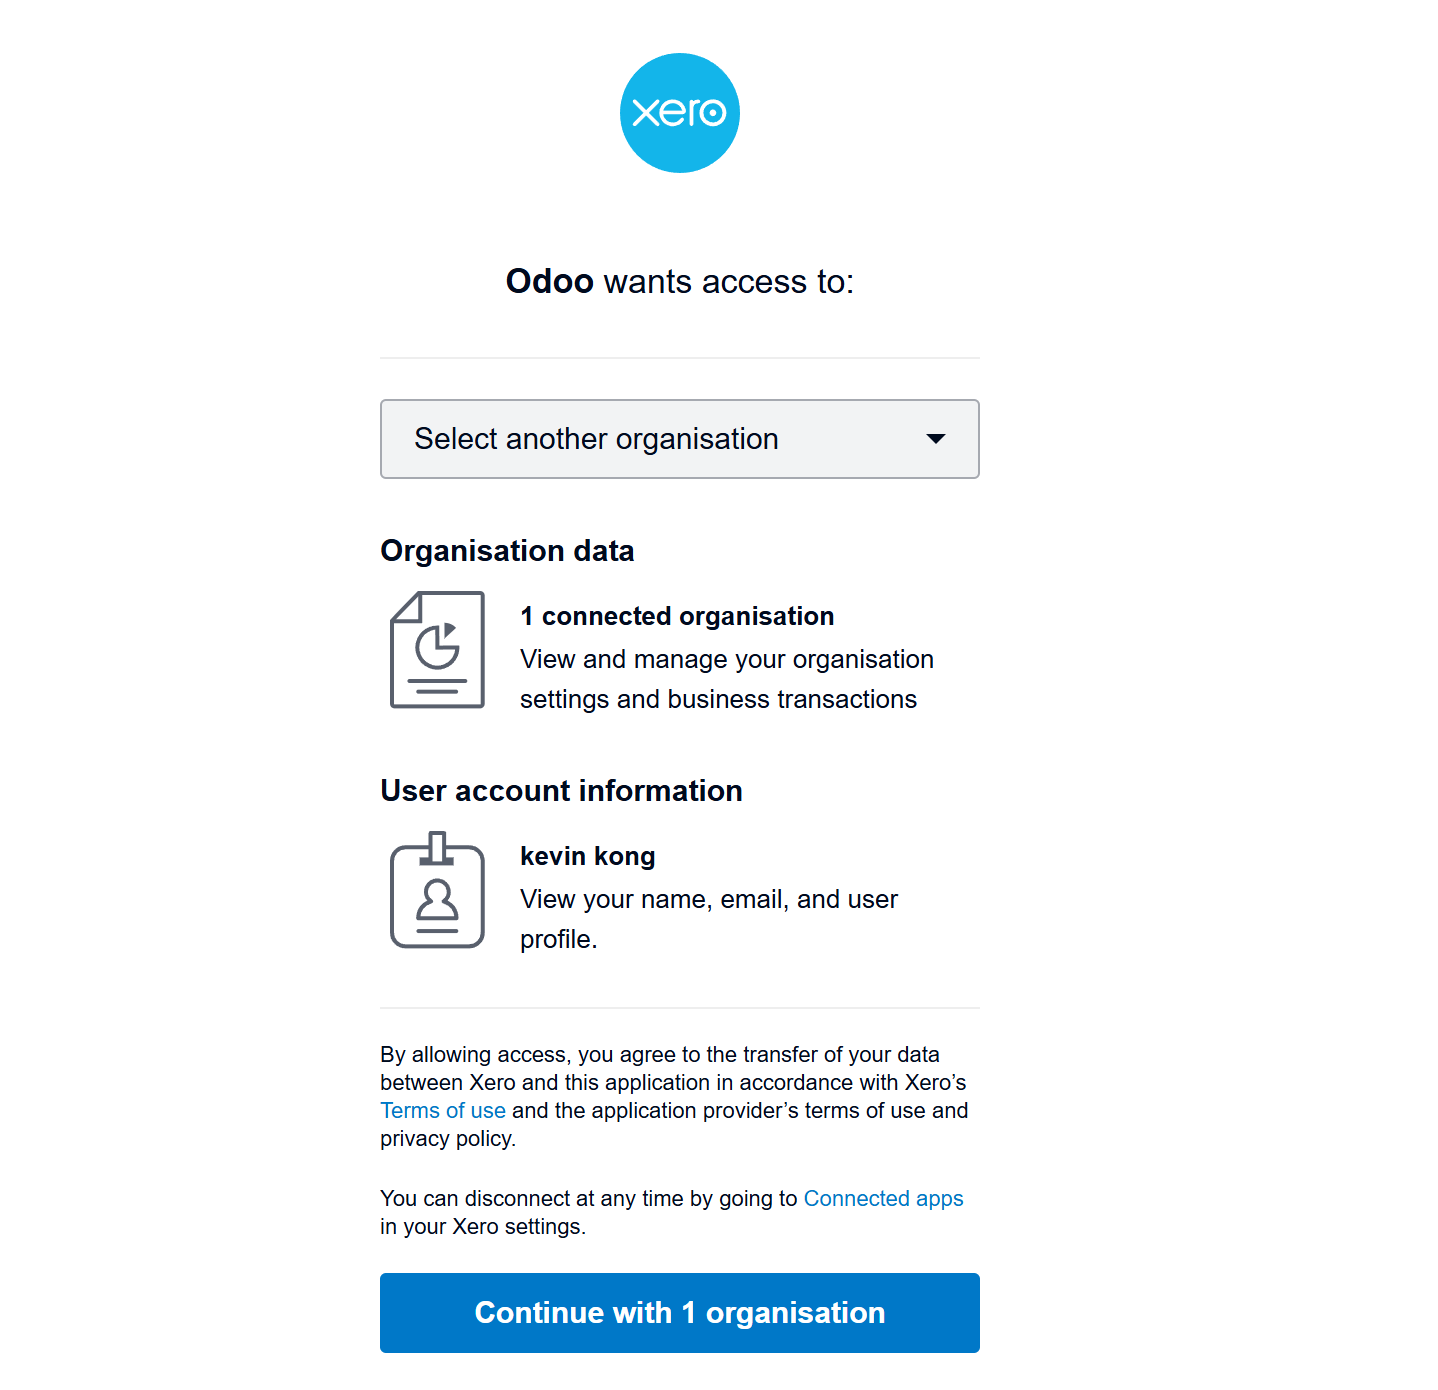
After authorization, the page returns to Odoo and the app is shown as authorized.
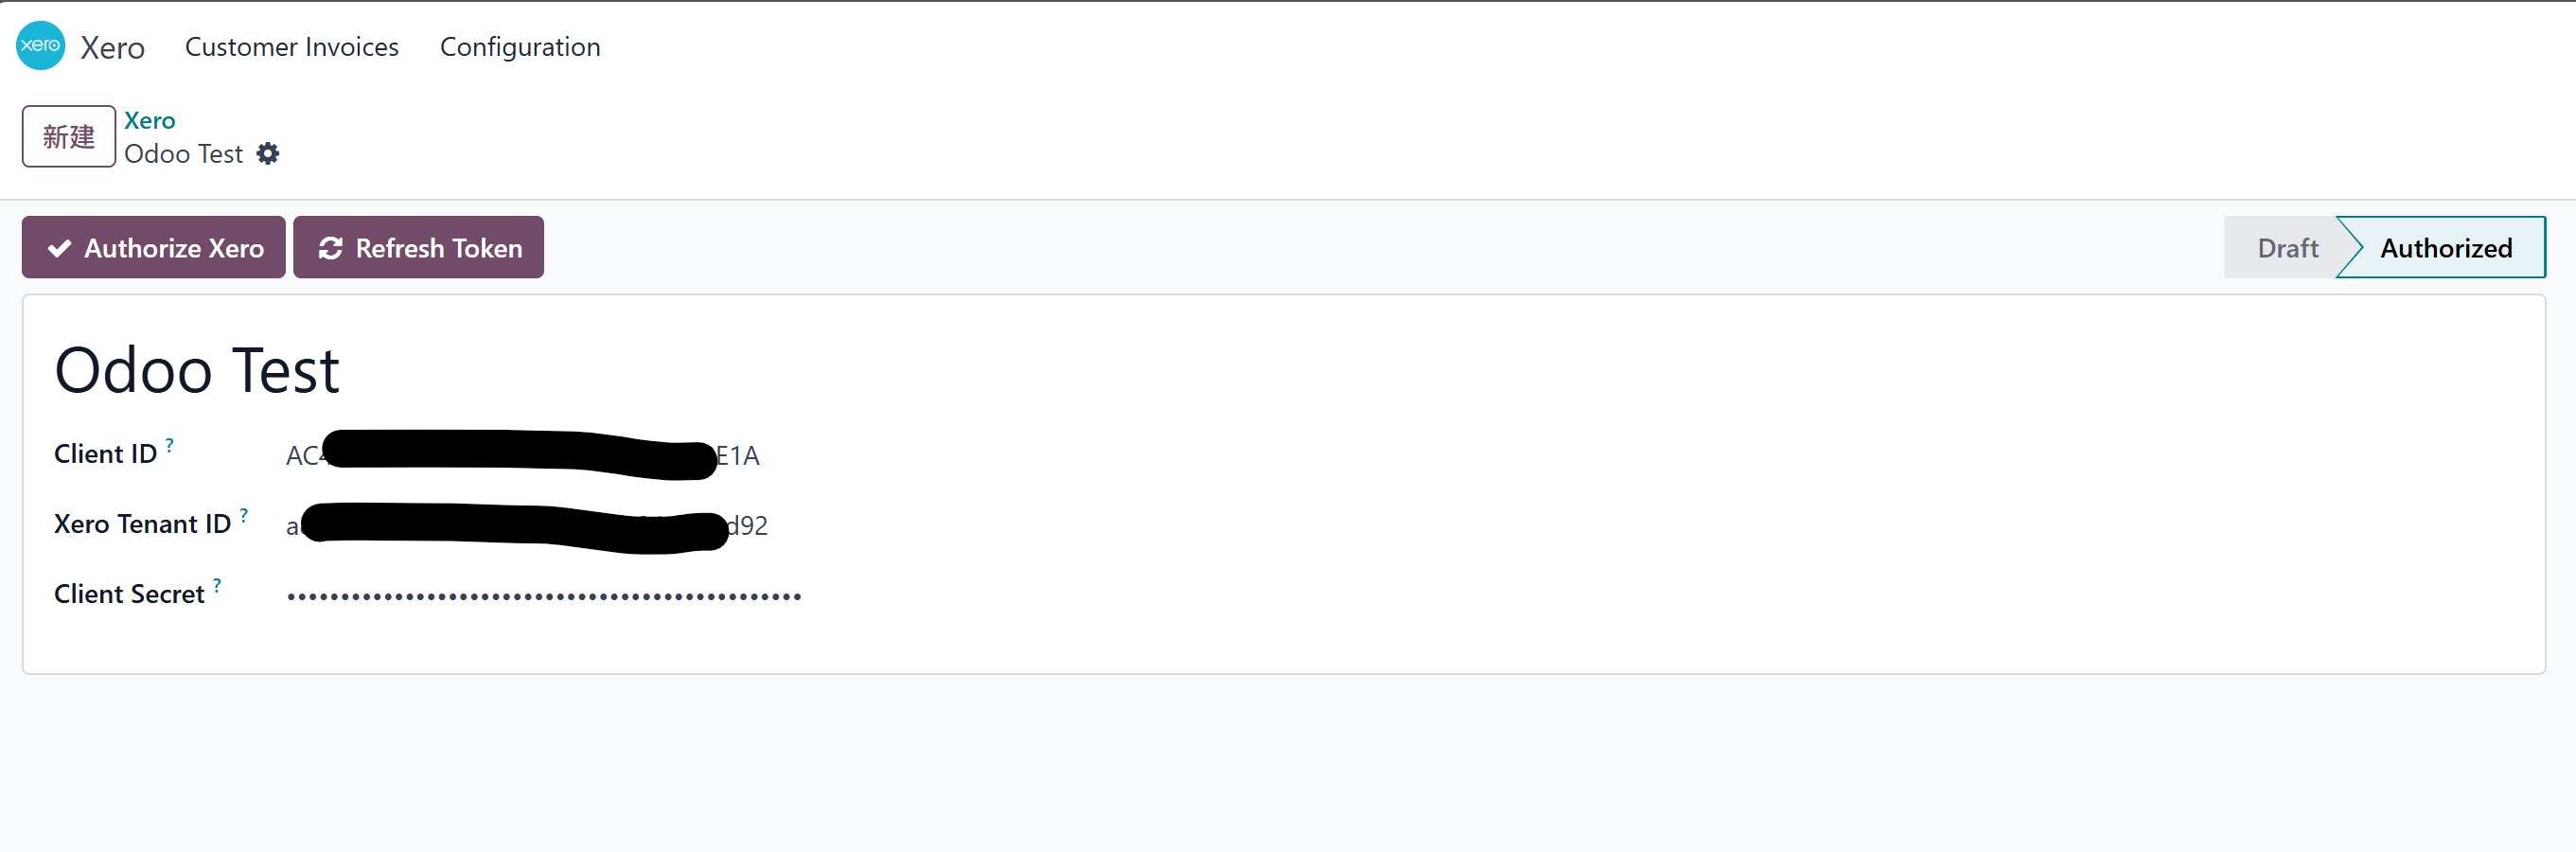
Xero Access Token is valid for 30 minutes. Refresh Access Token is valid for 60 days. To obtain Refresh Token, use the
offline_accessscope.
Usage In Odoo
Customer Synchronization
Unlike QuickBooks, Xero does not force customer synchronization before invoices can be synchronized. It can accept a text customer name. However, the module still supports customer synchronization for cleaner data management.
On the contact form, click the synchronize to Xero button.
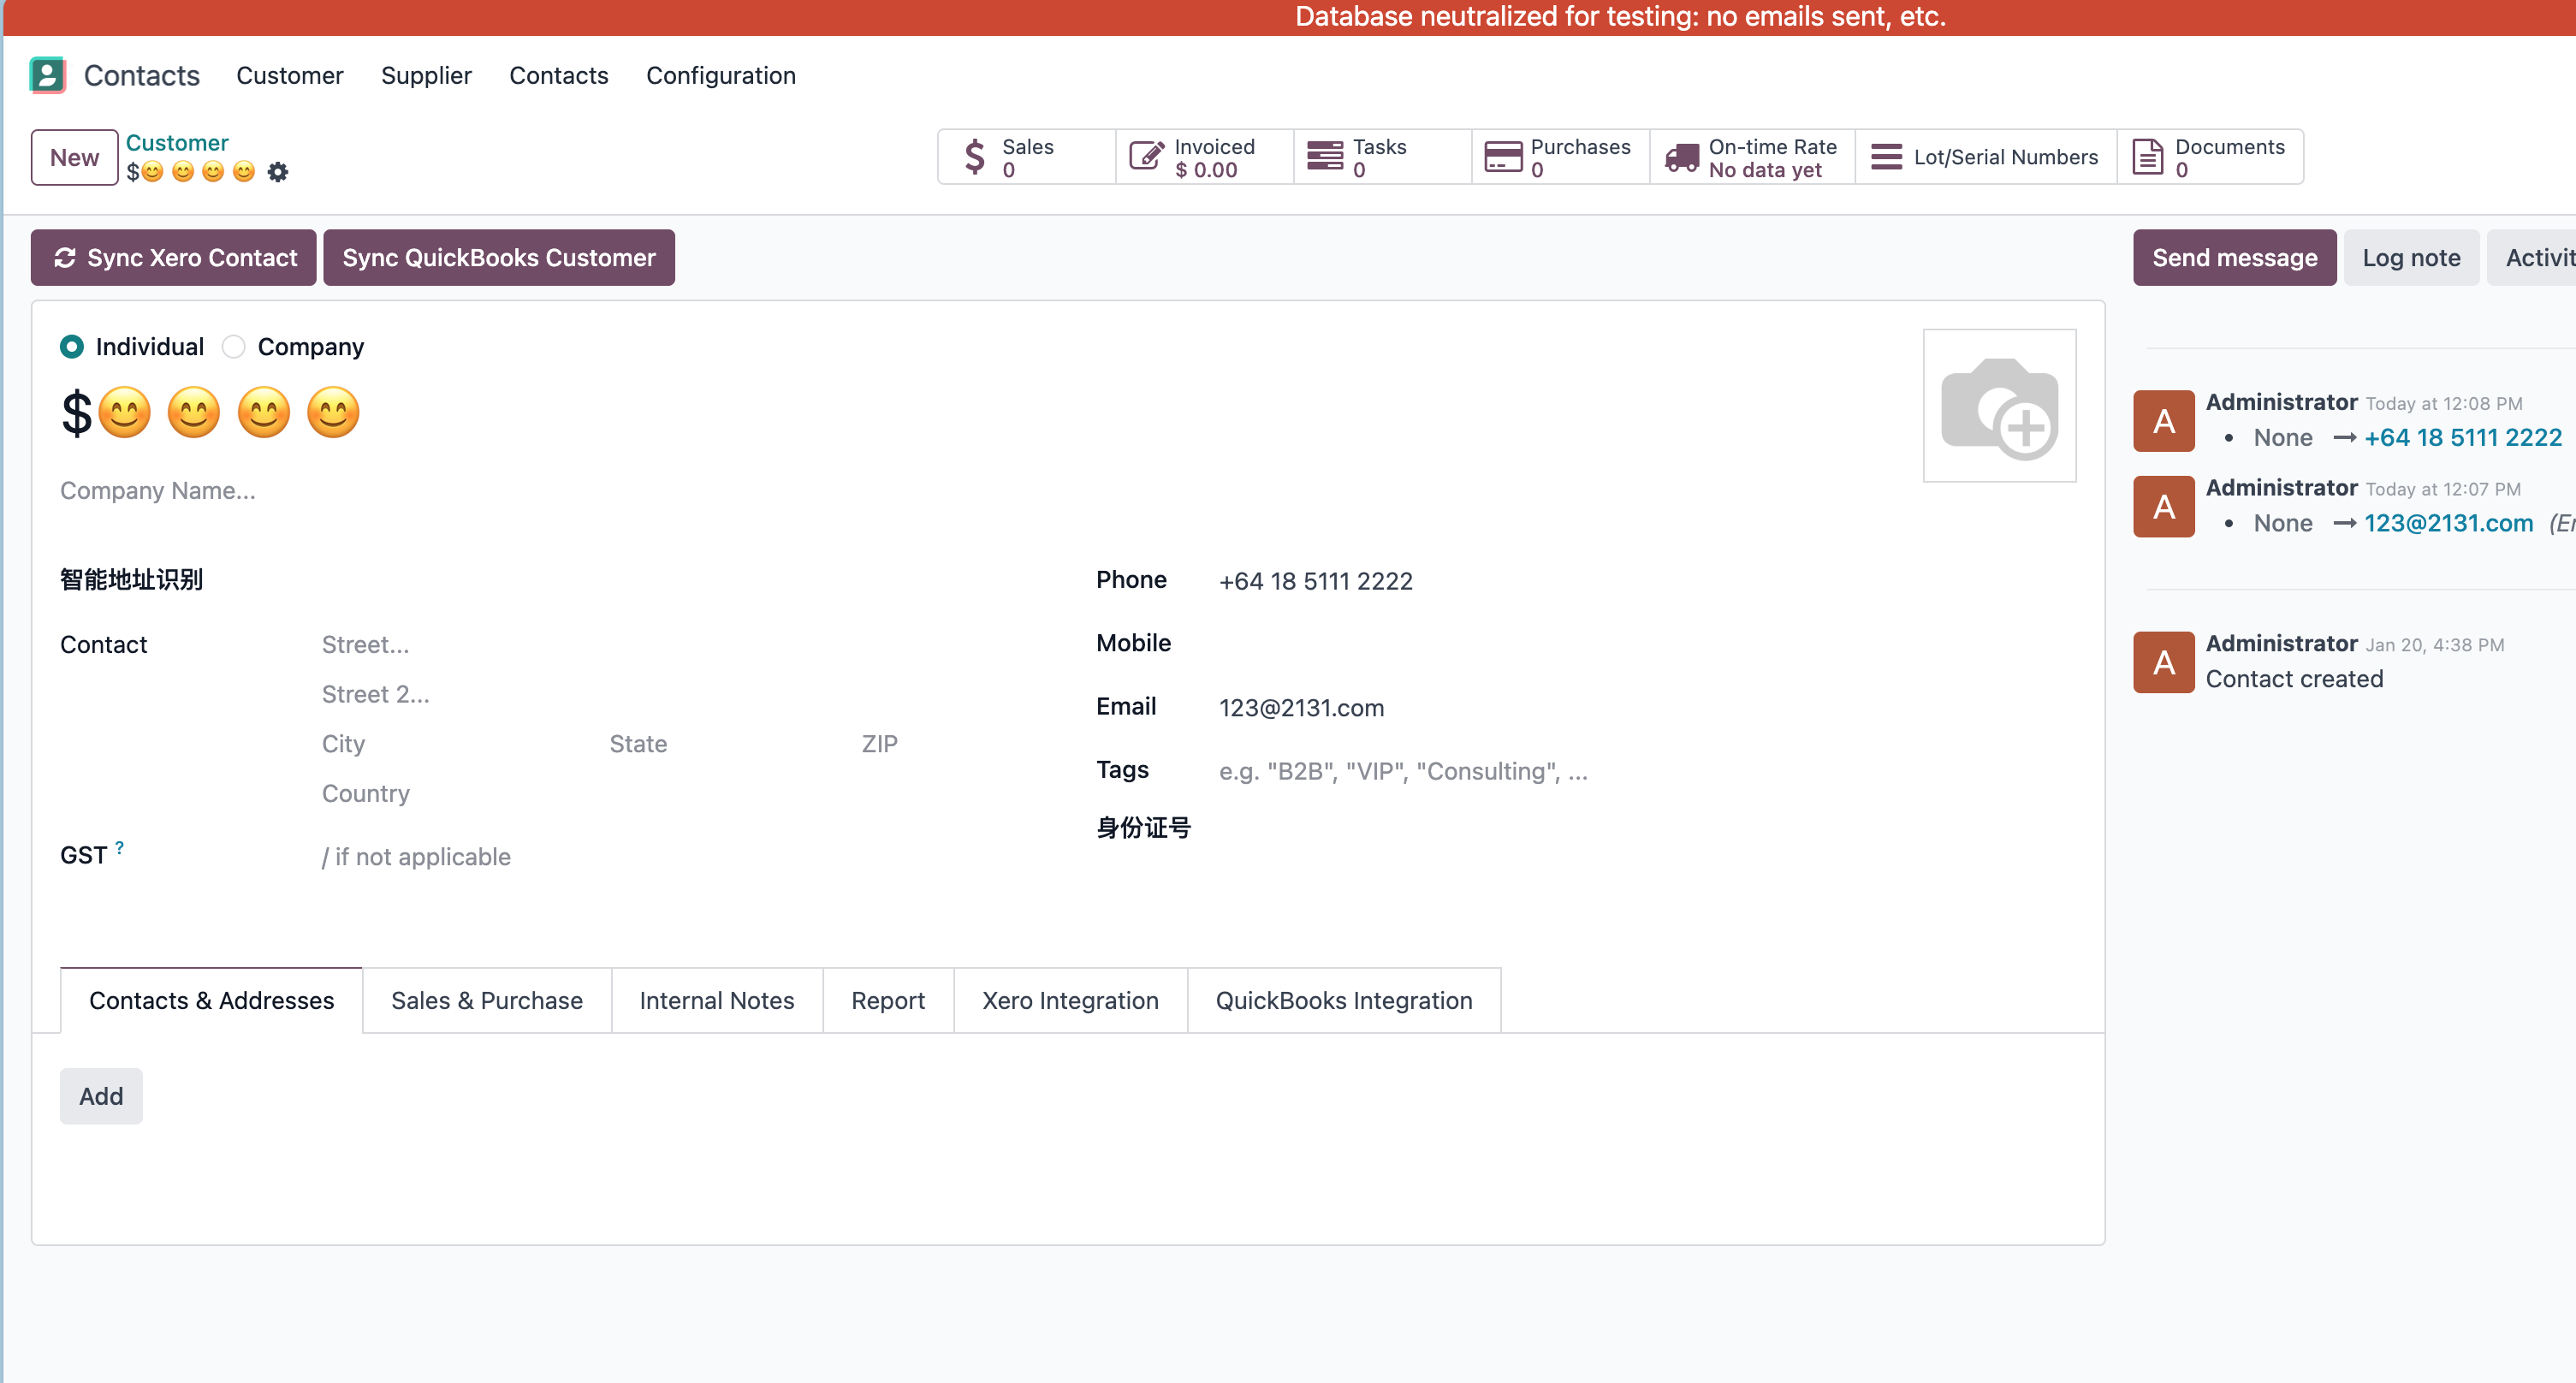
After synchronization, the Xero contact ID is written to the Xero tab on the contact.

Batch synchronization is also available from the contact list through Action > Synchronize to Xero.
Note: A contact must have phone or email filled in before synchronization.
Product Synchronization
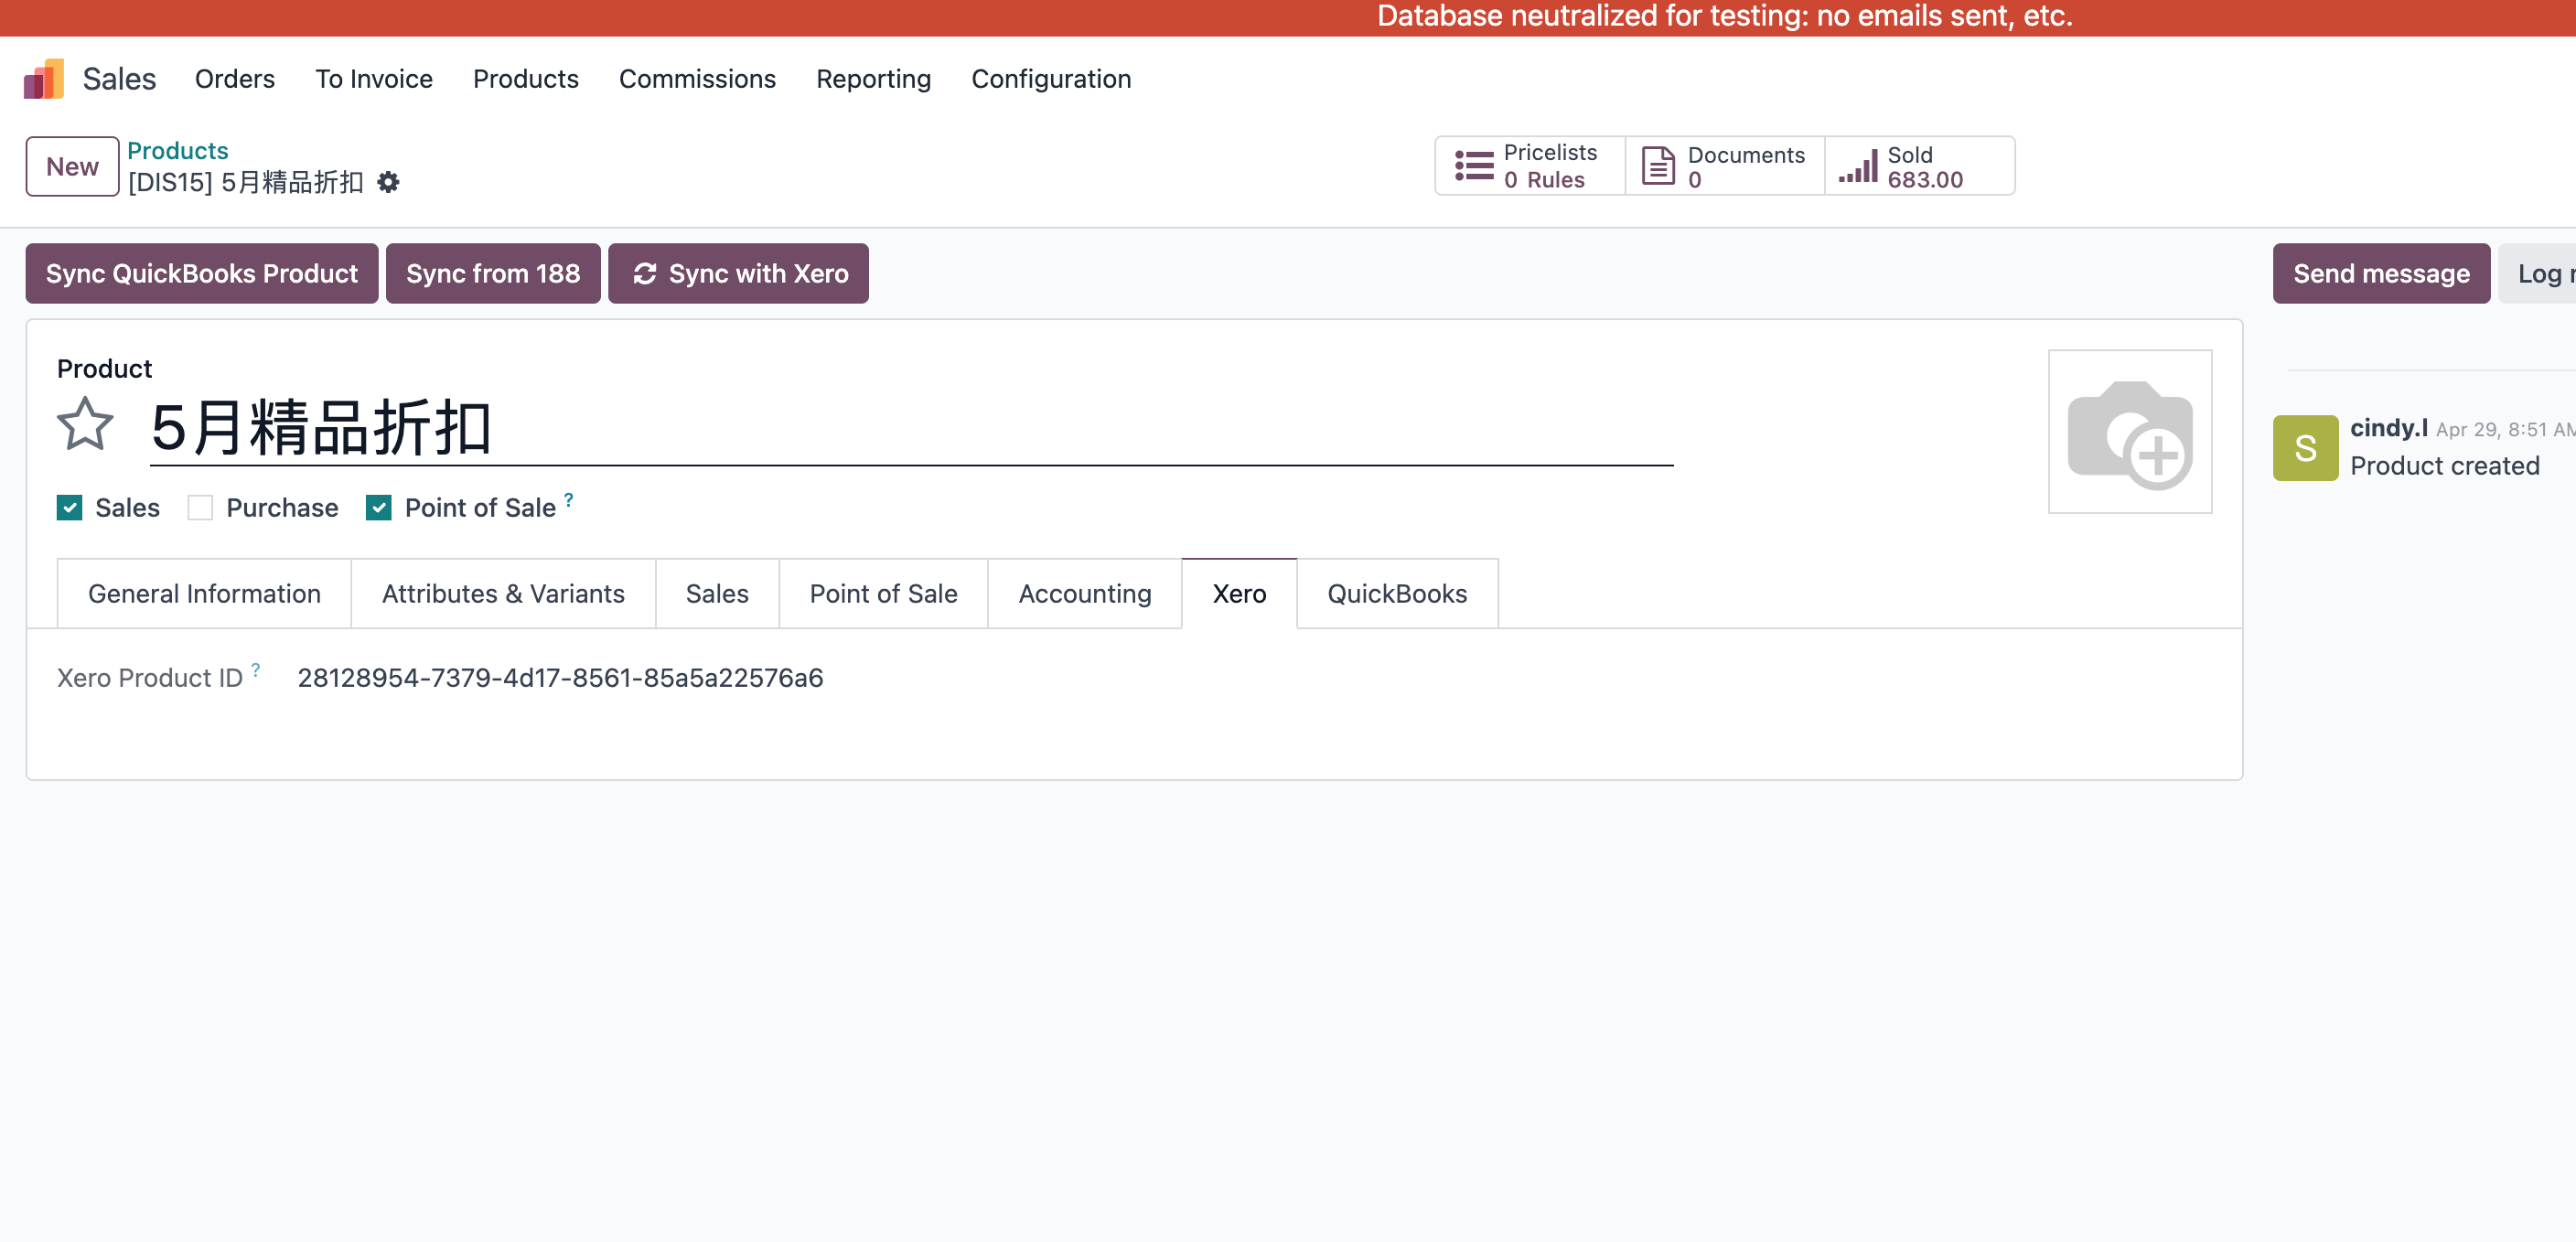
Products can also be synchronized to Xero from the product form.

After synchronization, the Xero product code appears on the Xero tab.
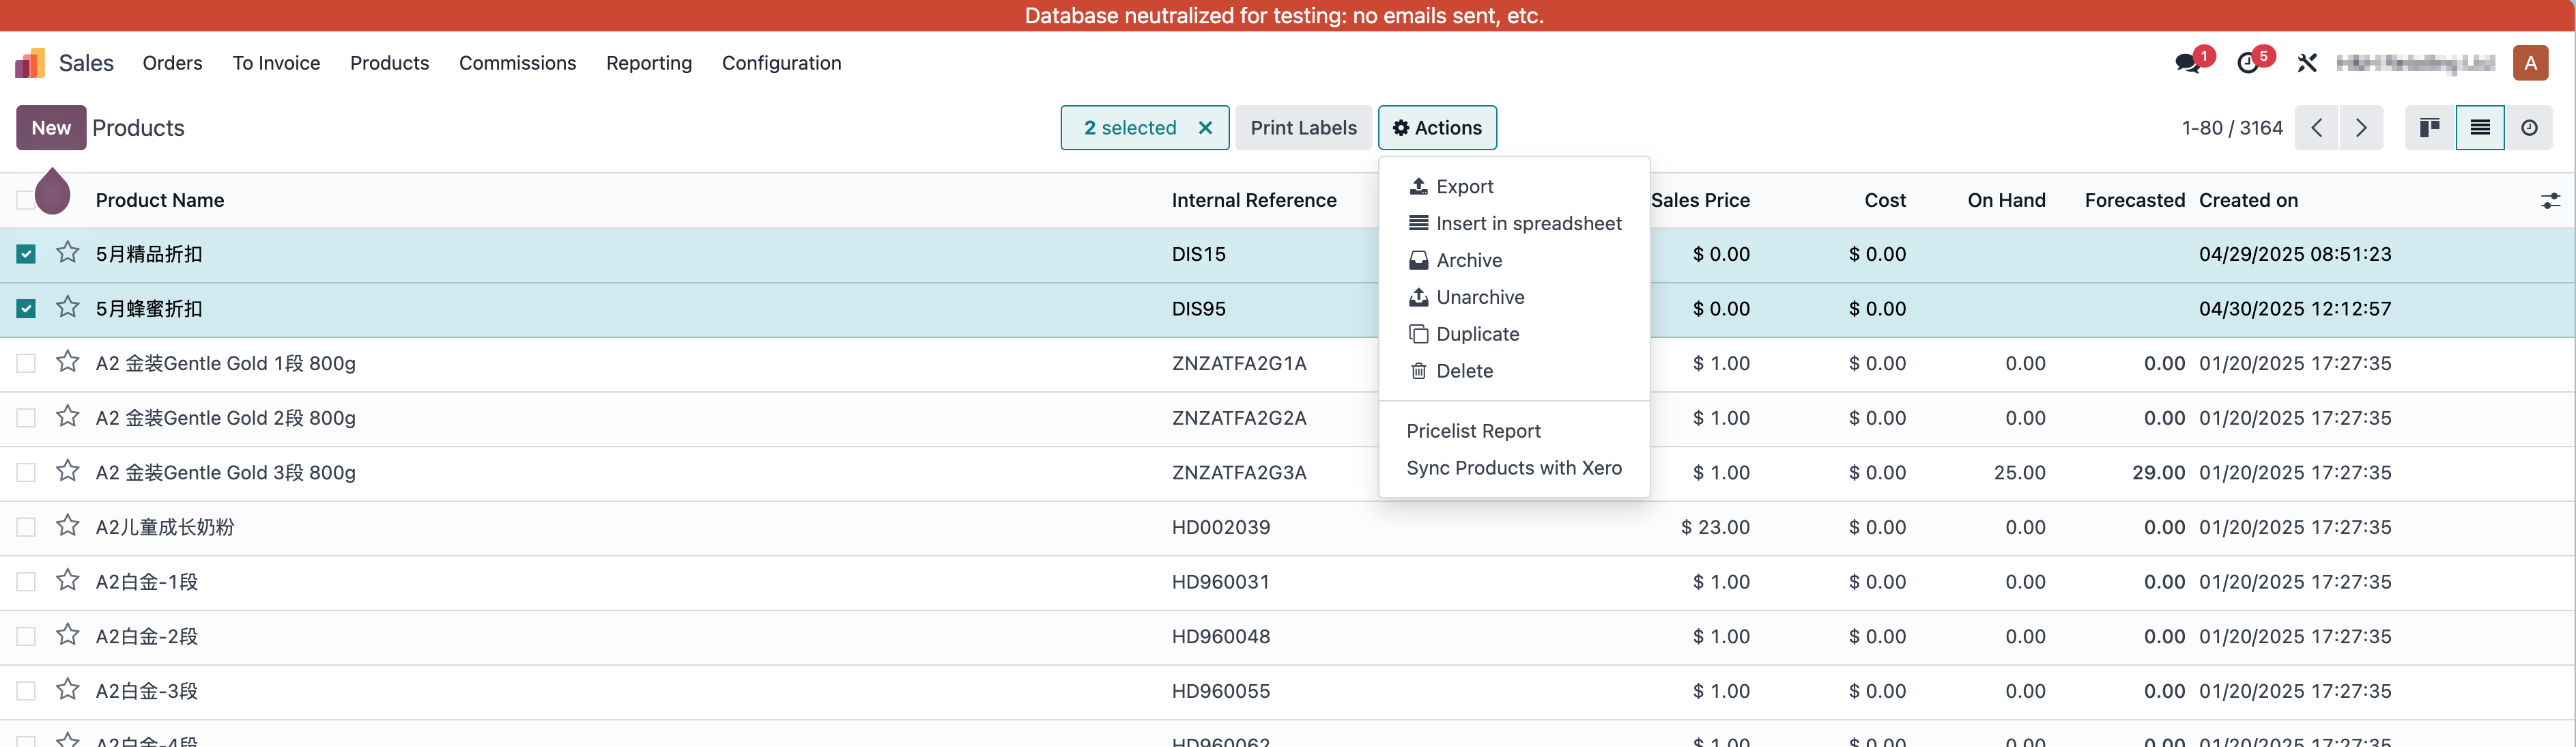
Batch product synchronization is also available from the product list view.
Invoice Synchronization
Open a customer invoice in Accounting.
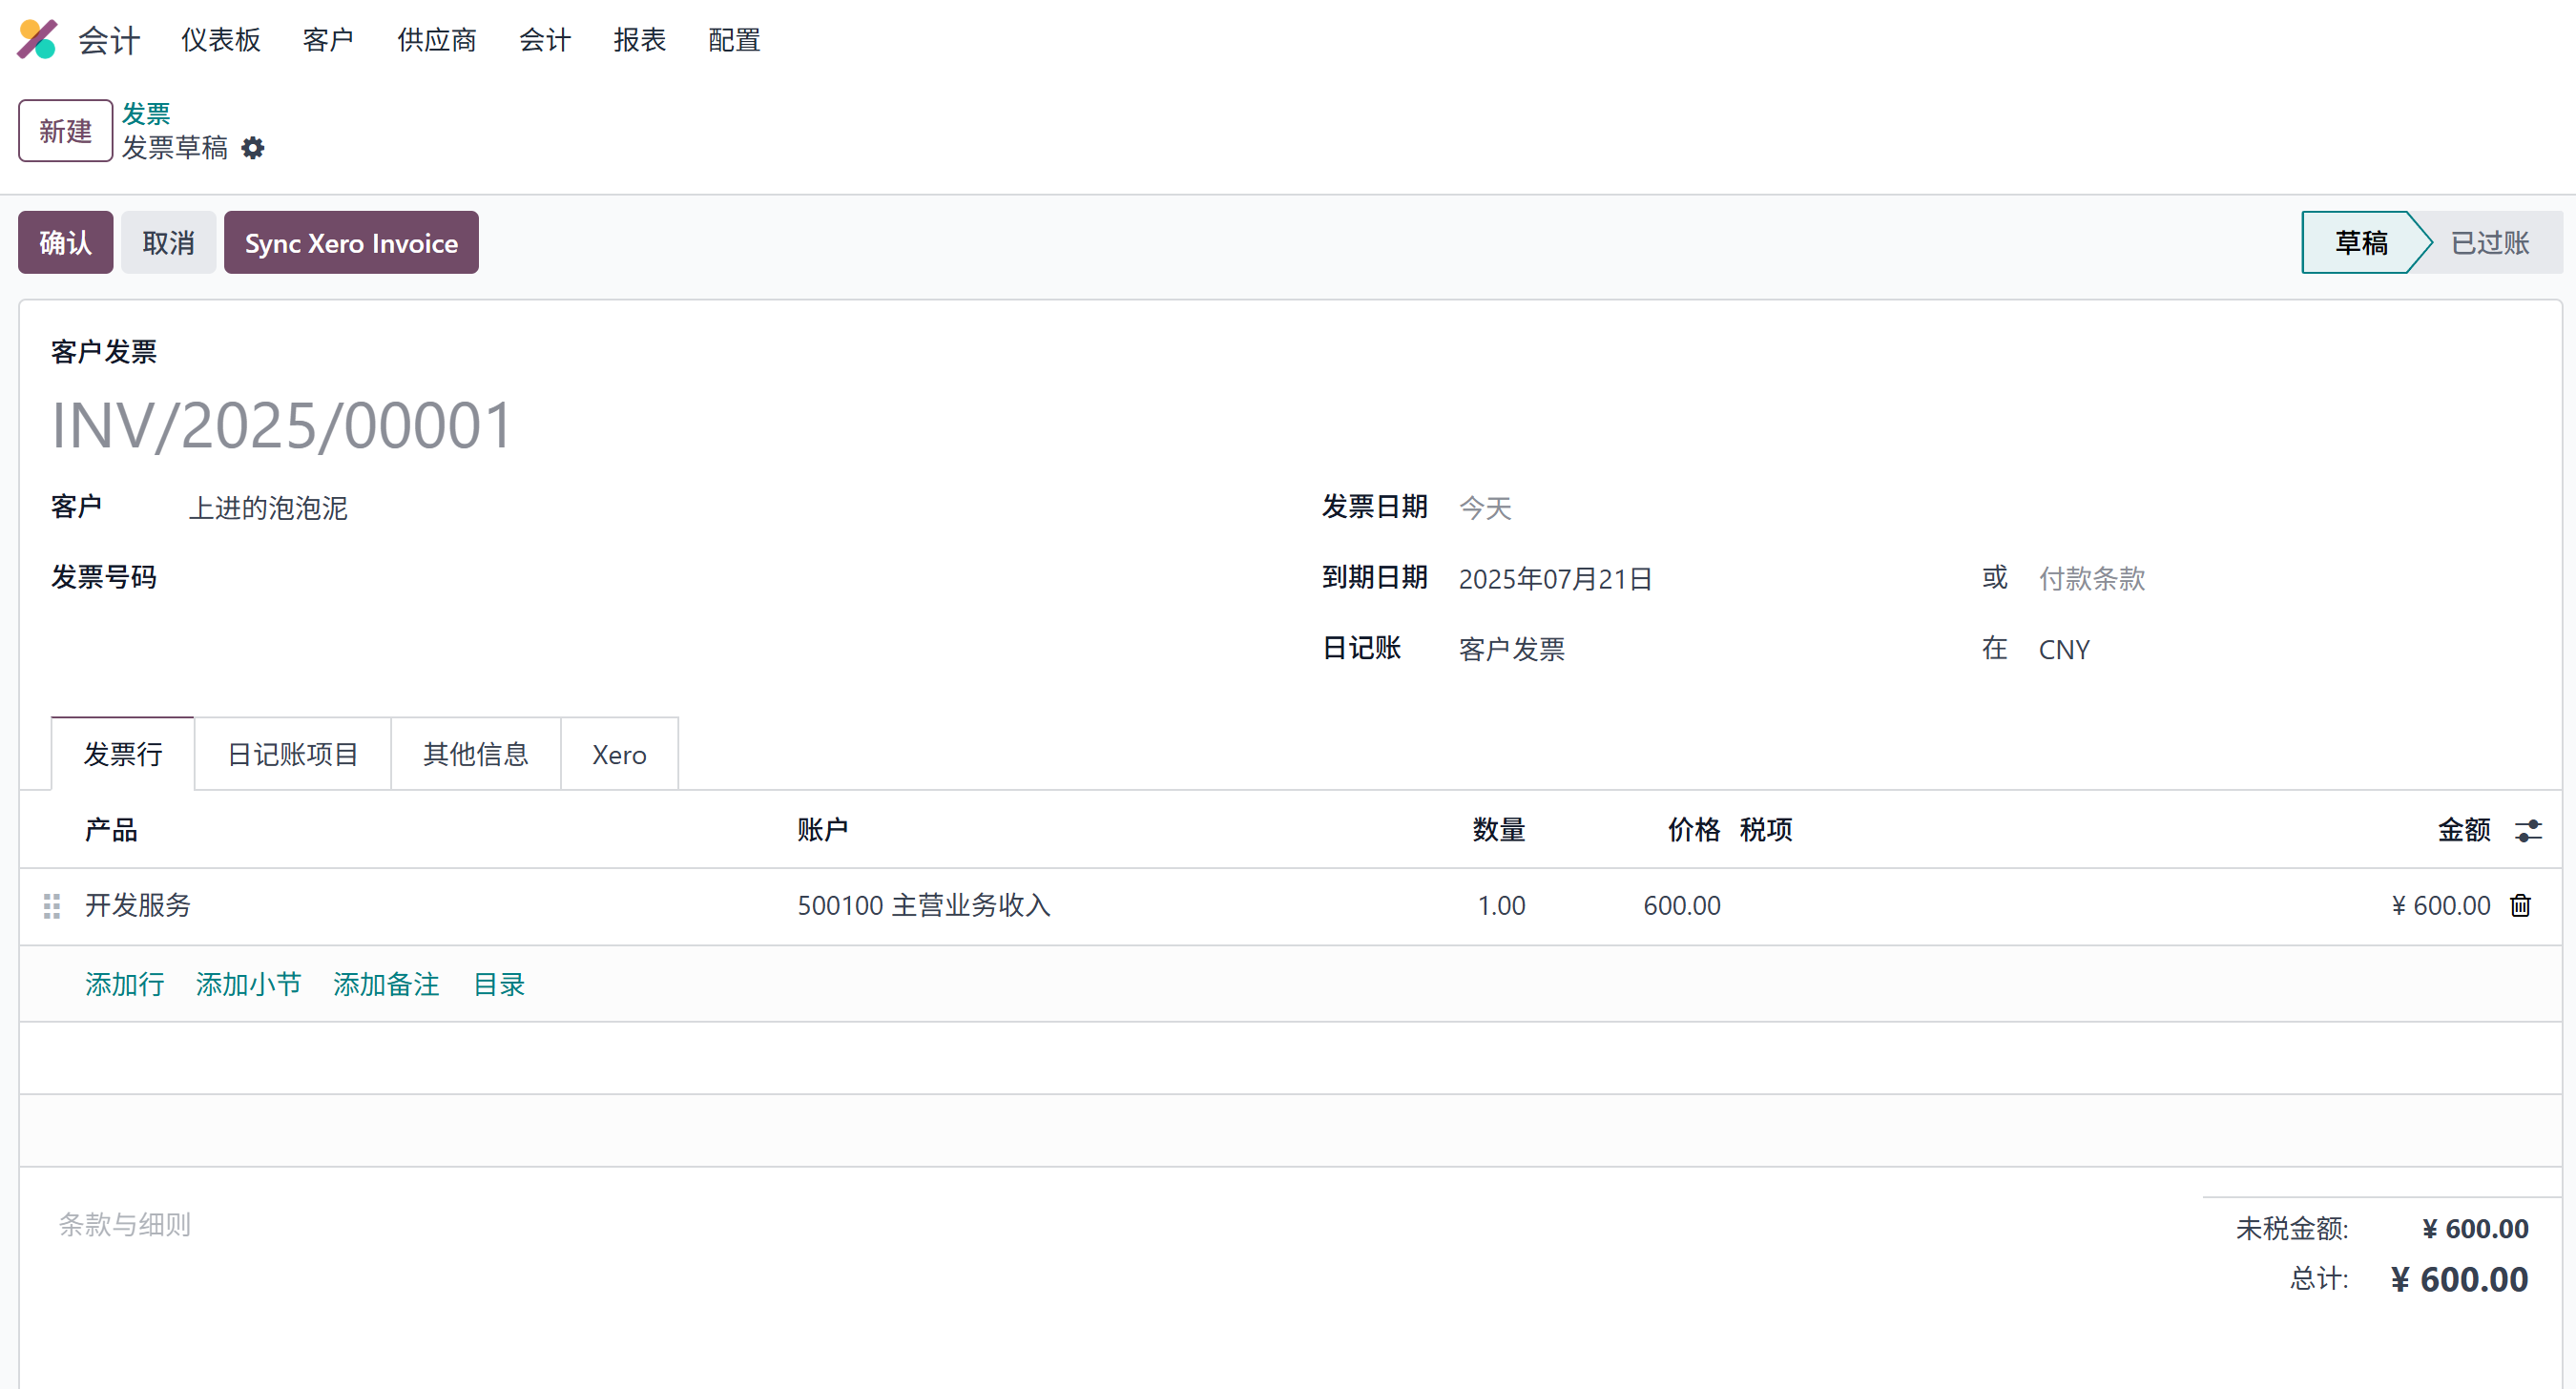
When confirming the invoice or clicking the synchronize button, Odoo synchronizes the invoice to Xero.
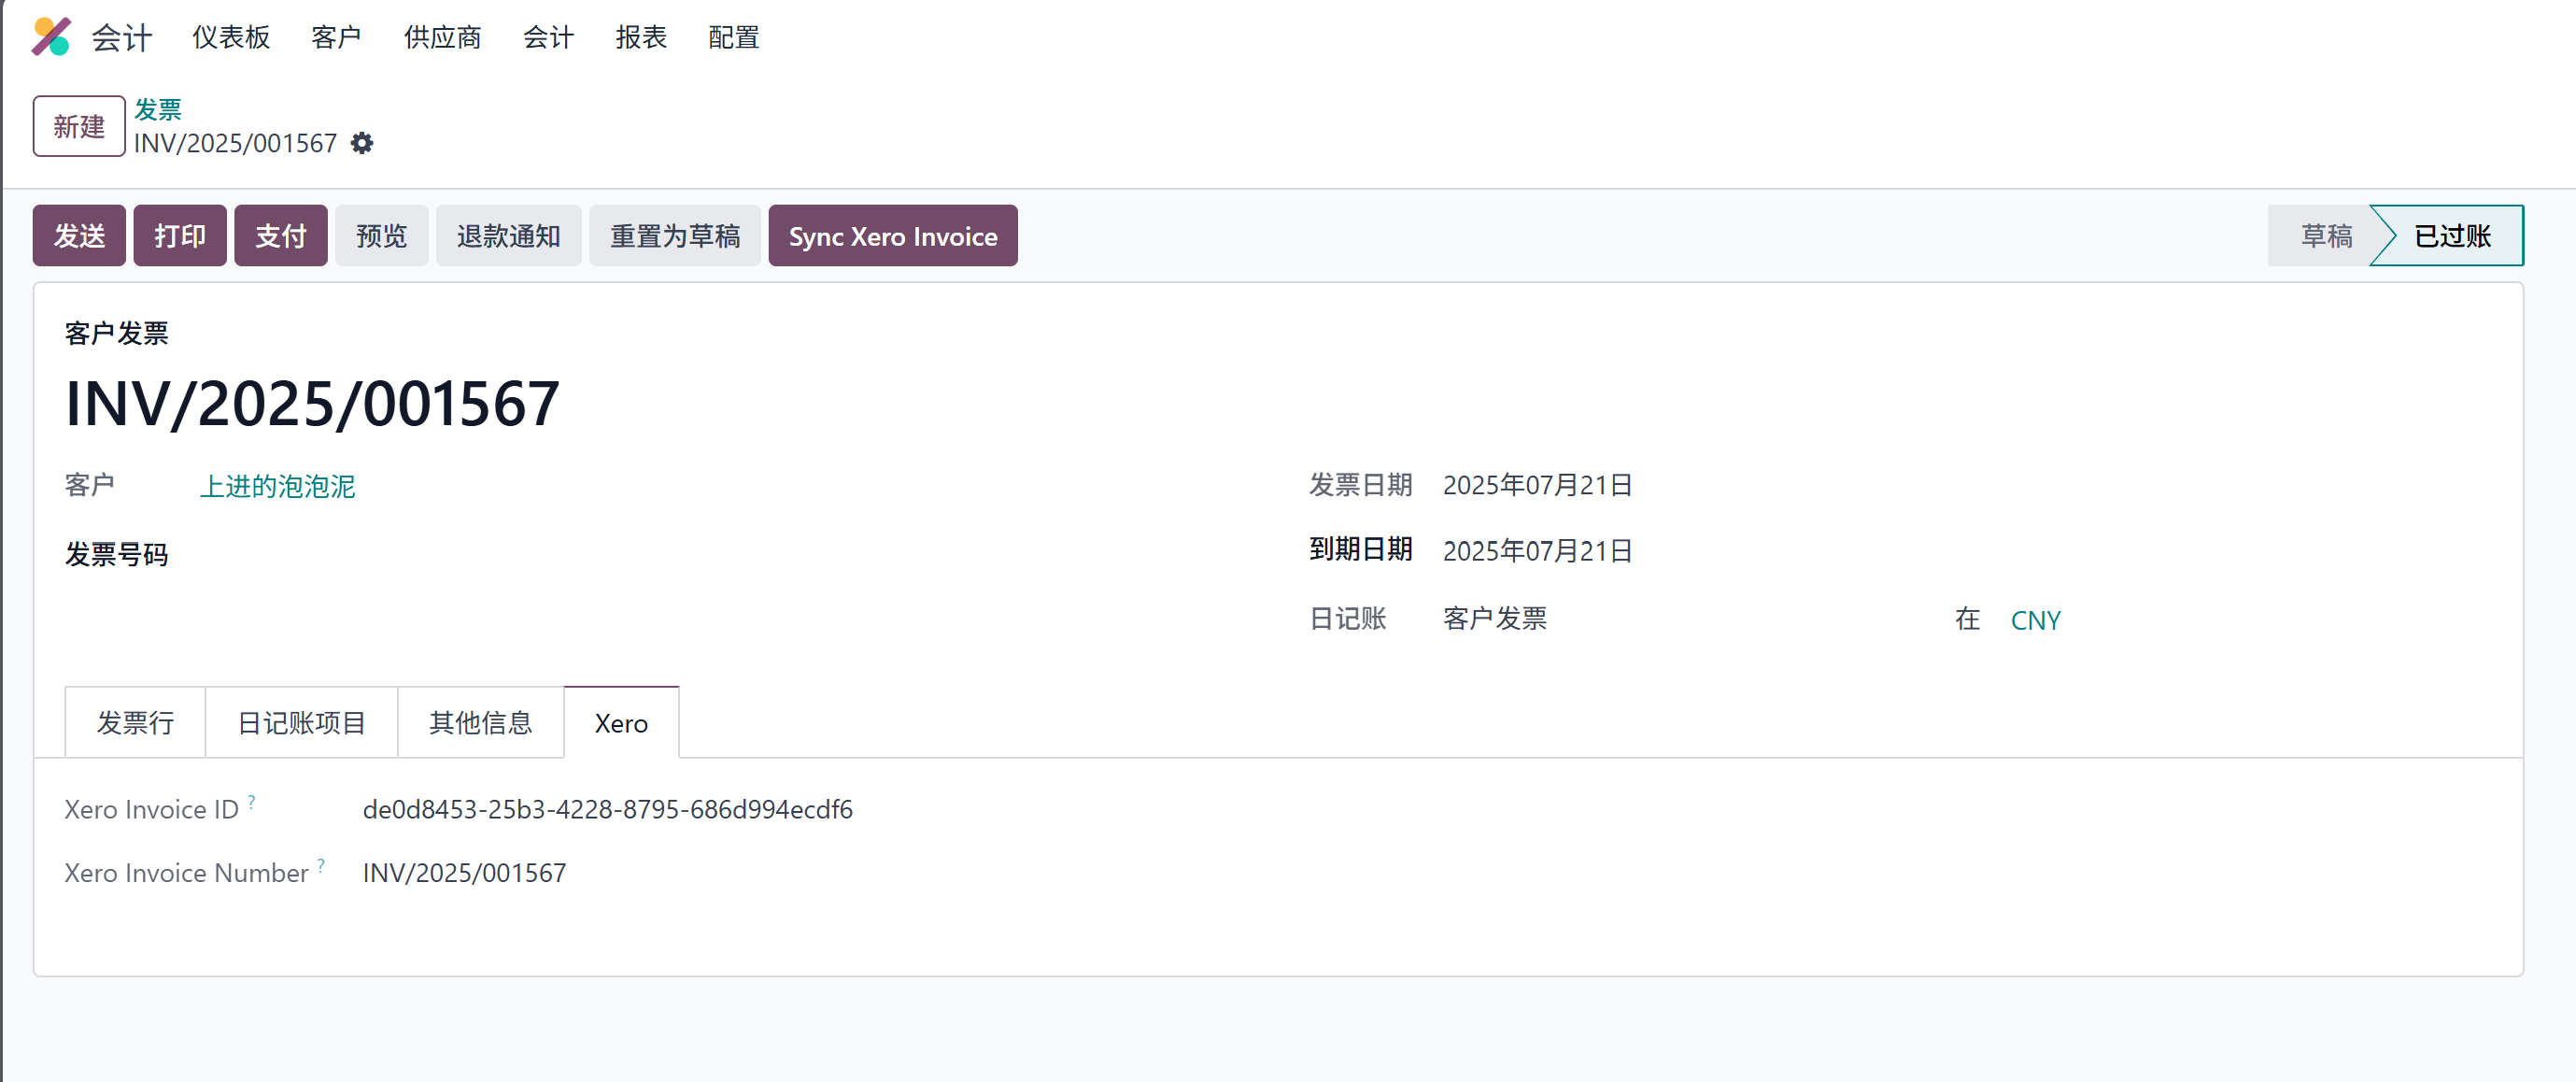
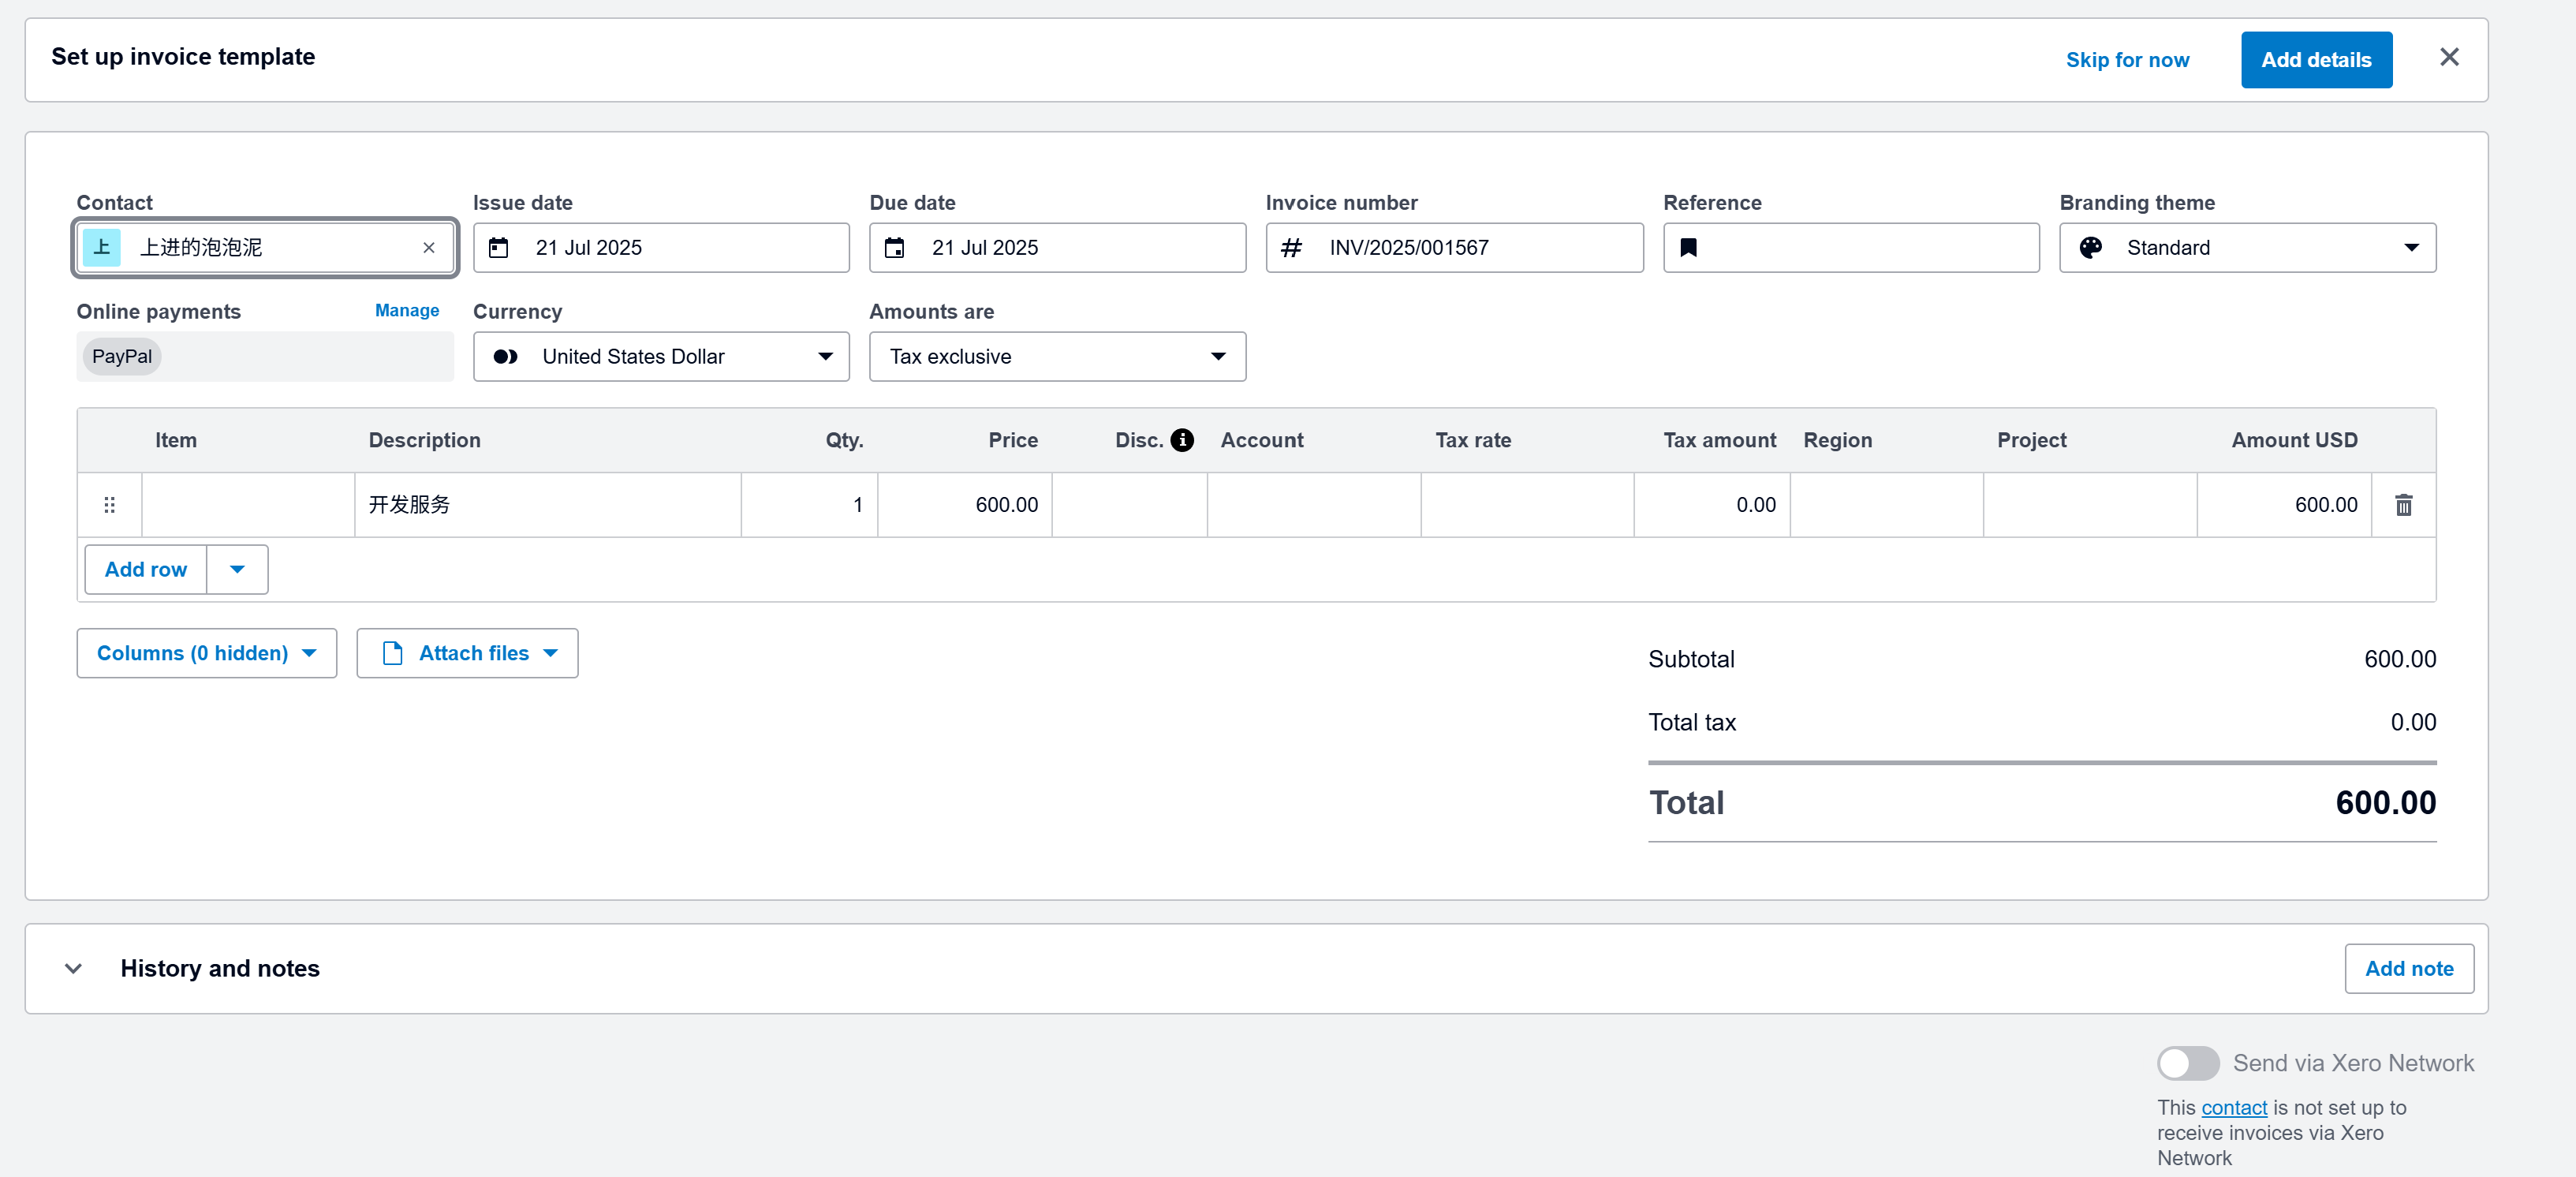
After successful synchronization, the Xero tab shows the Xero invoice ID and invoice number. The invoice can also be viewed on the Xero website.
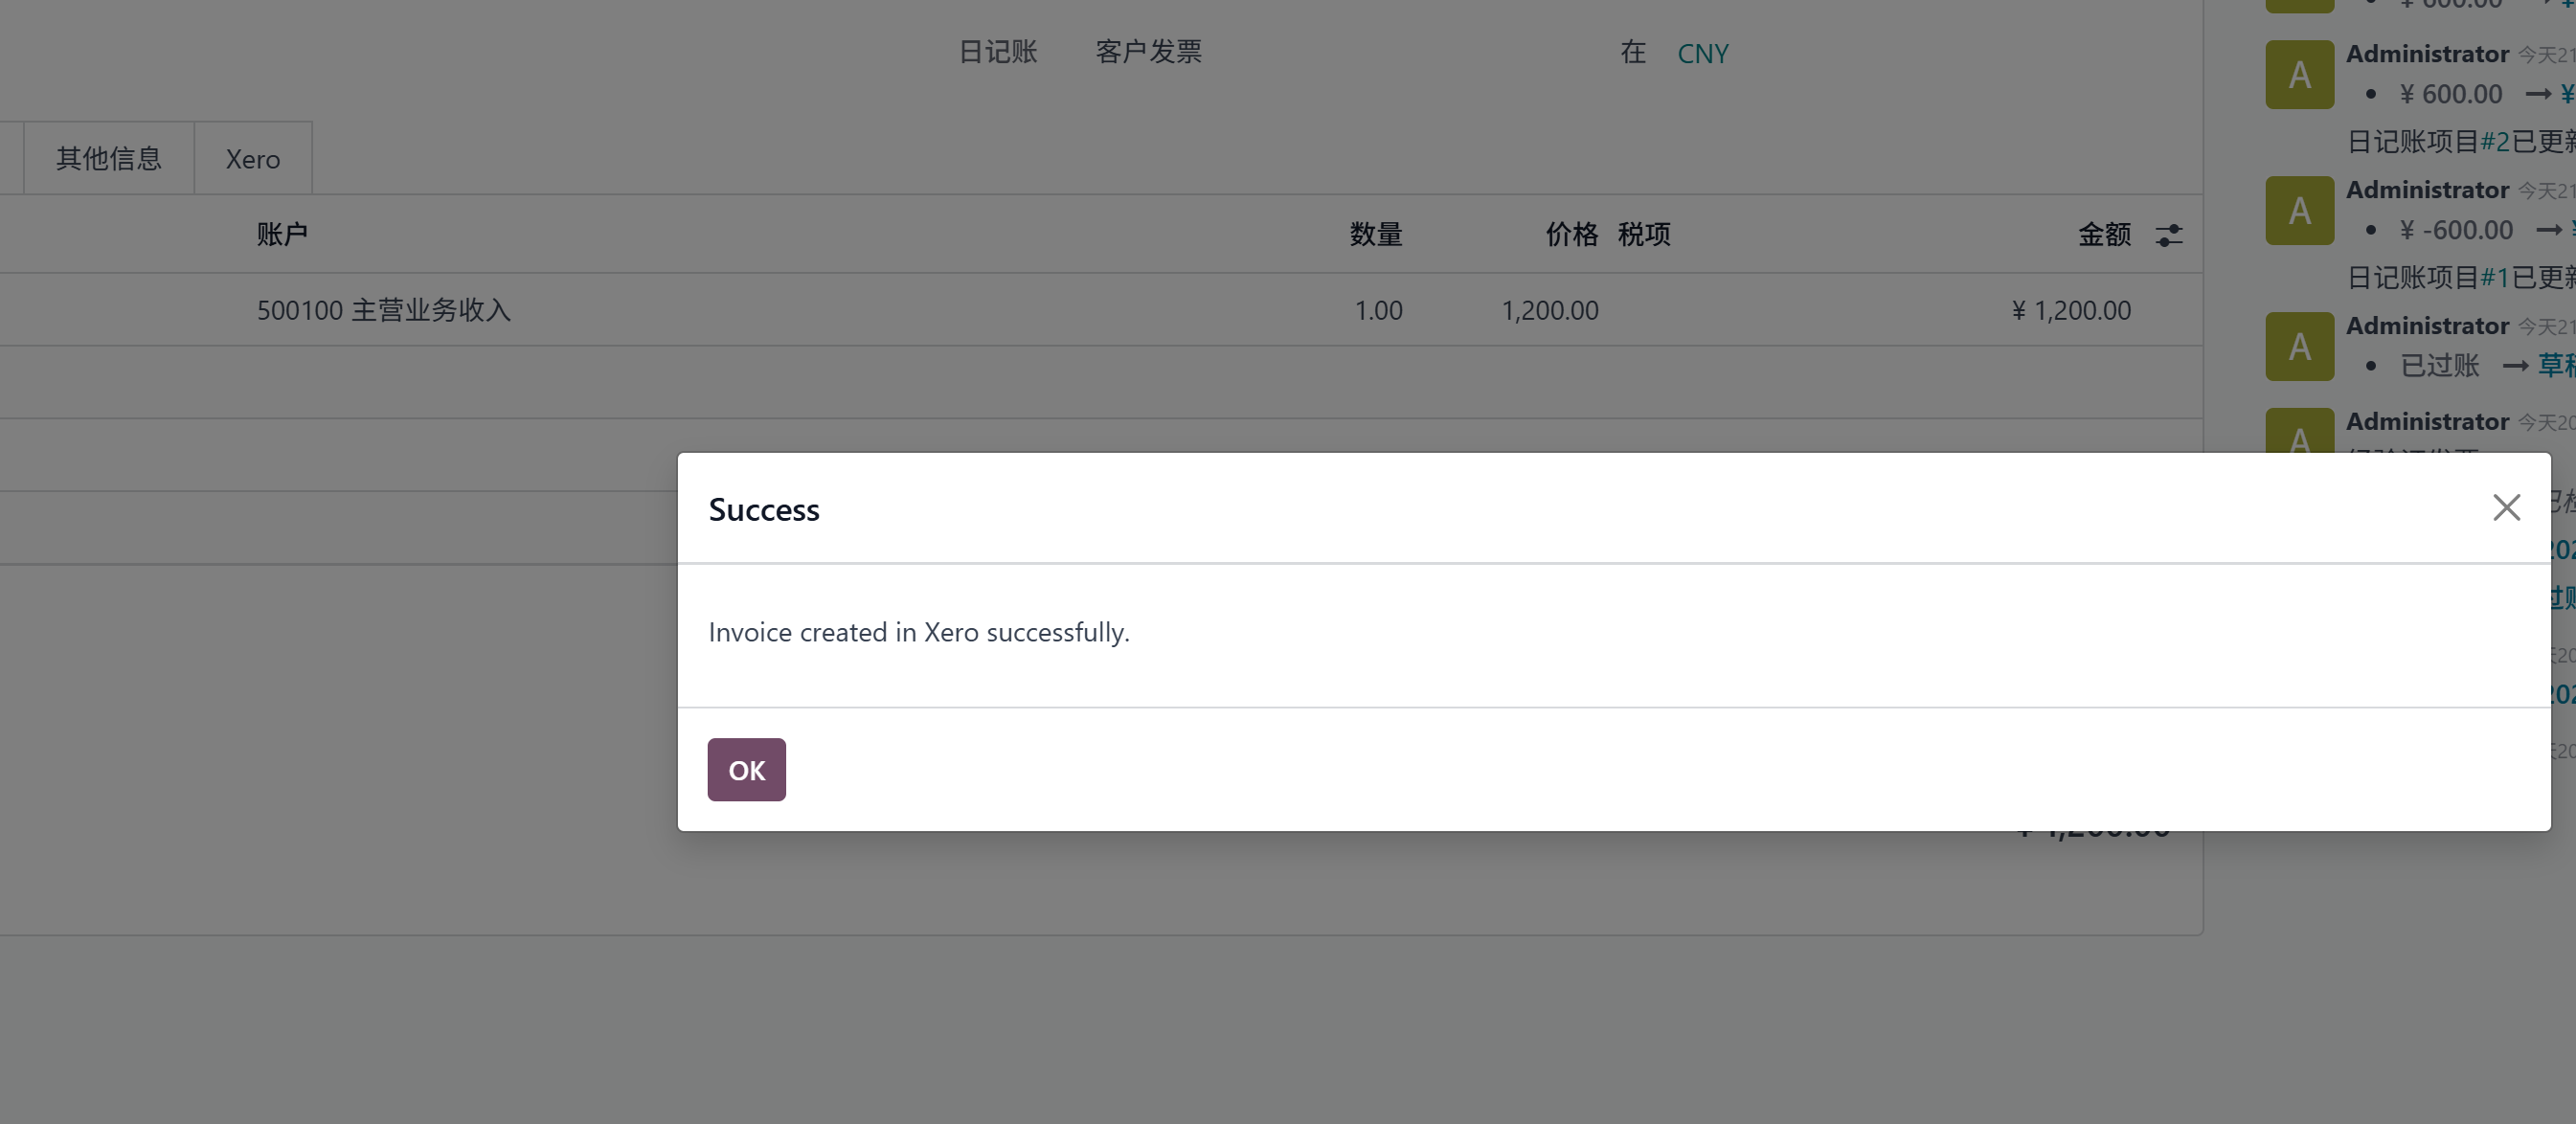
Update Synchronization
If invoice information is modified and needs to be sent to Xero again, click the synchronize invoice button.
Account Type Matching
Because Odoo and Xero account types do not match exactly, the module provides account type matching strategies.
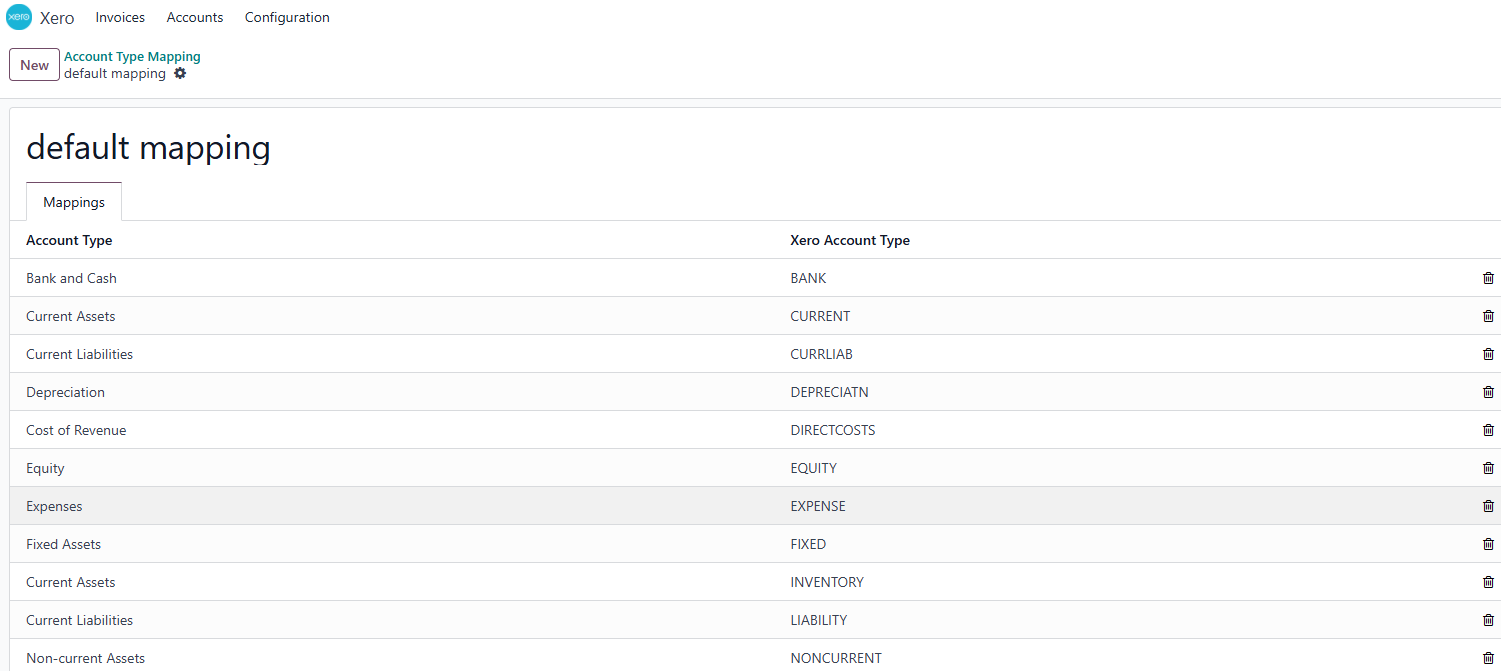
Users can adjust the matching relationship and bind the strategy to the Xero app.
Manual Account Matching
If Odoo account codes should not be the same as Xero account codes, fill in the Xero code manually on the account's Xero tab.
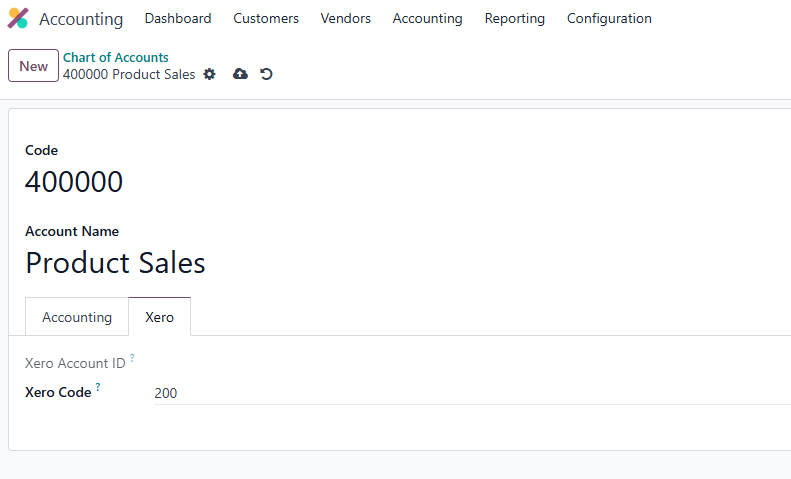
After matching, invoices can be synchronized with Xero account codes and Xero will apply its own accounting configuration.
Tax Synchronization
Select taxes in Accounting and synchronize them to Xero.
This chapter introduced Odoo and Xero integration for contacts, products, invoices, accounts, and taxes.